Makeup
How to Apply Blush for the Best Glow
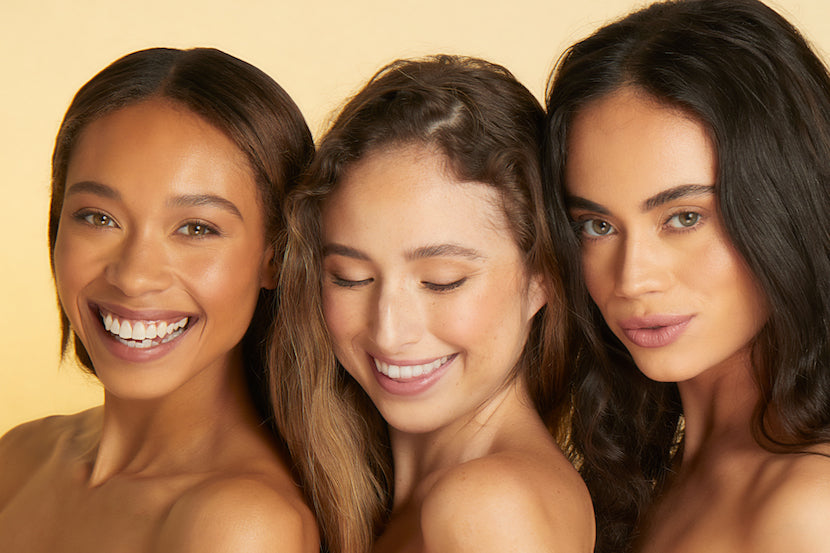
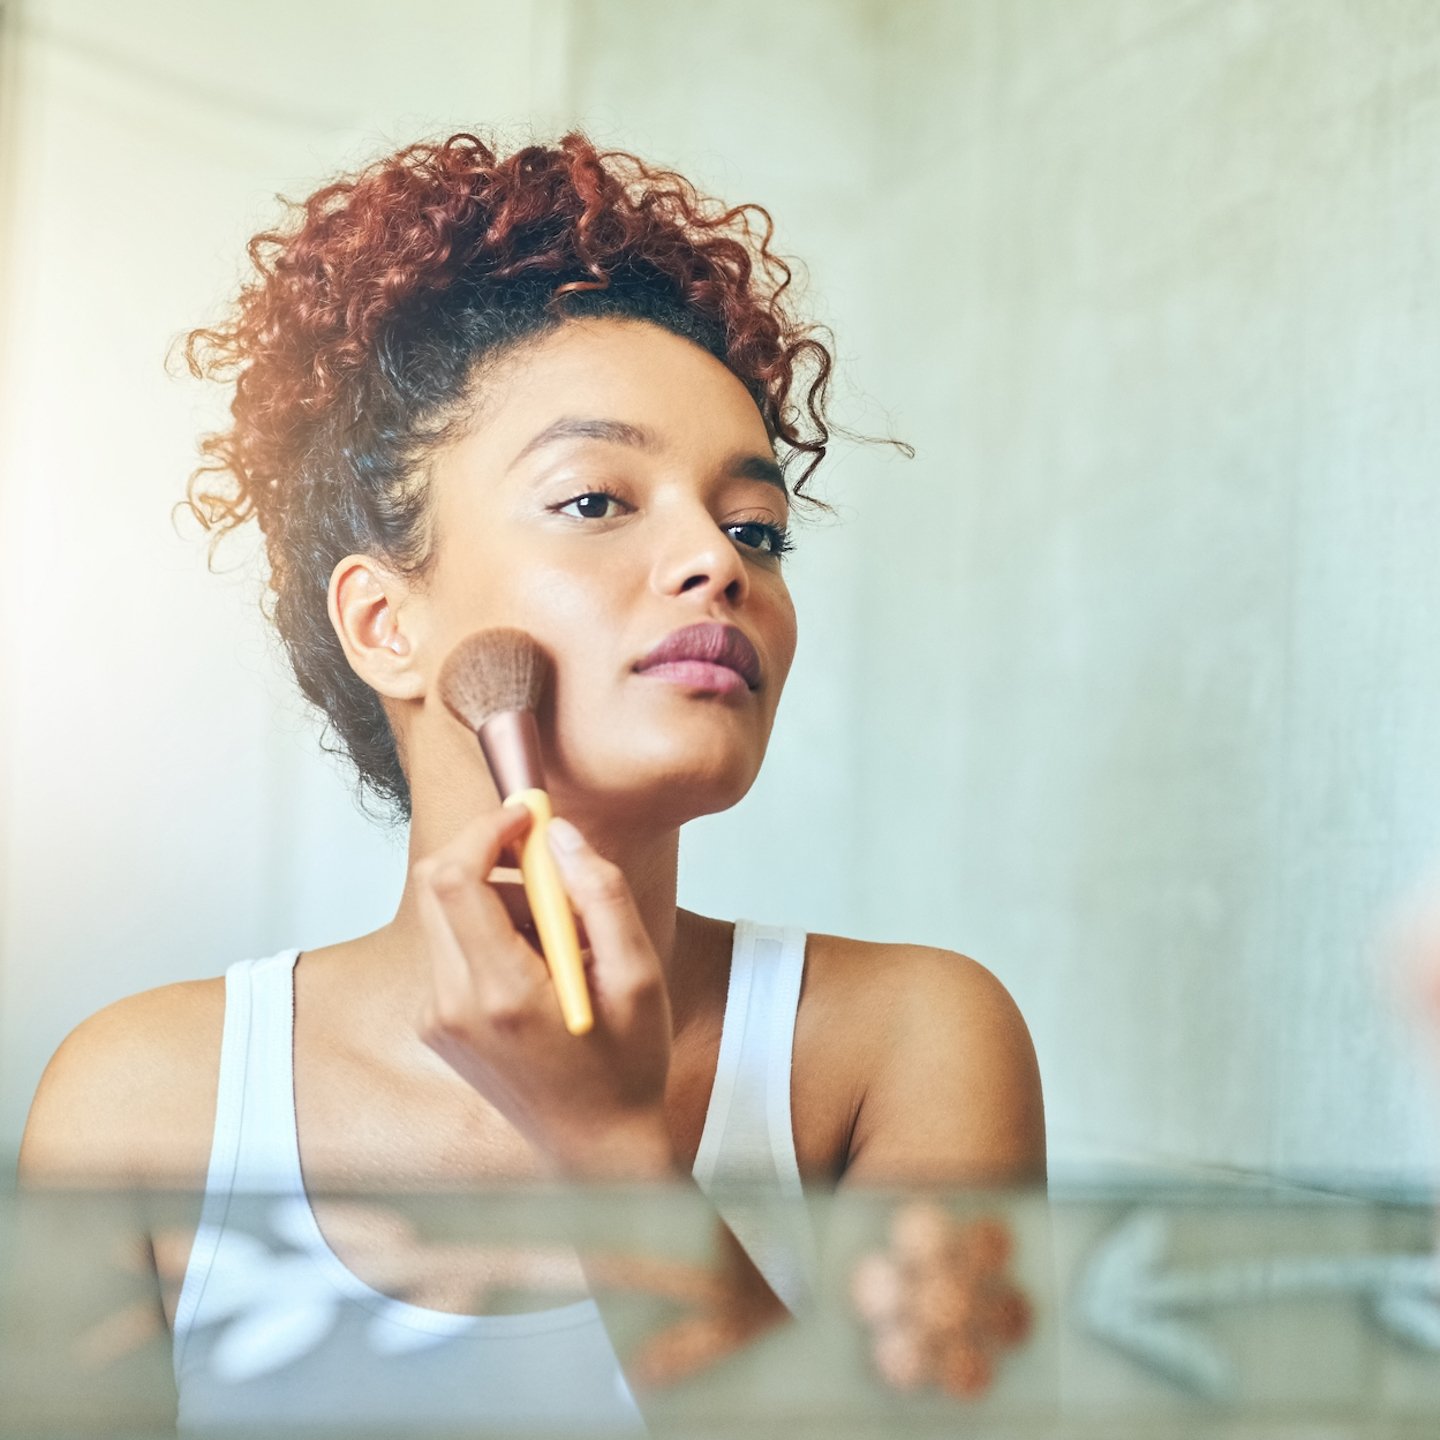
Blush might just be the most underrated step in a makeup routine.
It’s that little touch that can completely change your look—lifting your face, adding warmth, and making your skin look fresh and alive.
Whether you’re going for soft and subtle or bold and rosy, blush helps you pull everything together effortlessly.
But let’s be real: sometimes it feels like you’re just smudging color on your cheeks and hoping for the best, right?
If you’ve ever felt that way, you’re not alone.
In this article, I’m breaking down how to apply blush like a pro so you can get that natural, glowy finish every time.
1. Pick the Right Shade for Your Skin Tone

Let’s start with the golden rule: not every blush is your blush. The secret to that “just got back from vacation” glow is choosing a shade that flatters your skin tone.
For fair skin— Soft pinks and peaches are your besties.
For medium skin tones— Think warm apricots, rose, or mauve—they’ll melt right into your skin.
Deep skin— Go bold! Rich berries, deep oranges, and warm reds will pop beautifully.
2. Choose the Right Formula
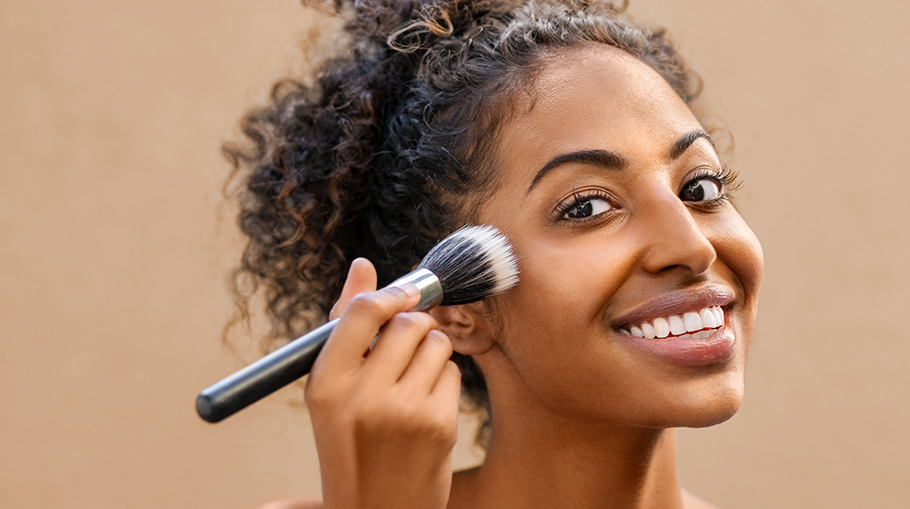

Okay, so now that you’ve got your perfect shade, let’s talk texture. Because yes, your skin type matters here too.
If your skin is oily, powder blush is your go-to—it stays in place without sliding off.
Dry or normal skin? Cream blush is your glow-in-a-compact. It blends like a dream and gives that natural “lit from within” vibe.
And if you’re all about that lightweight, dewy finish? Liquid blush might just be your new obsession.
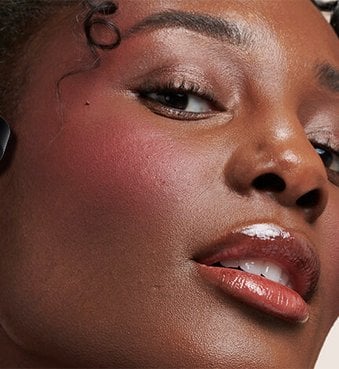
3. Know Where to Apply It (Your Face Shape is the Clue)

Blush
Blush isn’t a one-size-fits-all kind of deal.
Where you place it depends on your face shape and that’s the real tea. Got a round face? Sweep it a bit above the apples of your cheeks to lift everything up.
Oval? You’re lucky; blush looks good right across the apples and blended back toward your temples.
Square face? Focus on softening those angles—keep it on the apples and blend outward.
Heart-shaped? Start just under the outer corners of your eyes and blend down a bit; it balances everything out beautifully.
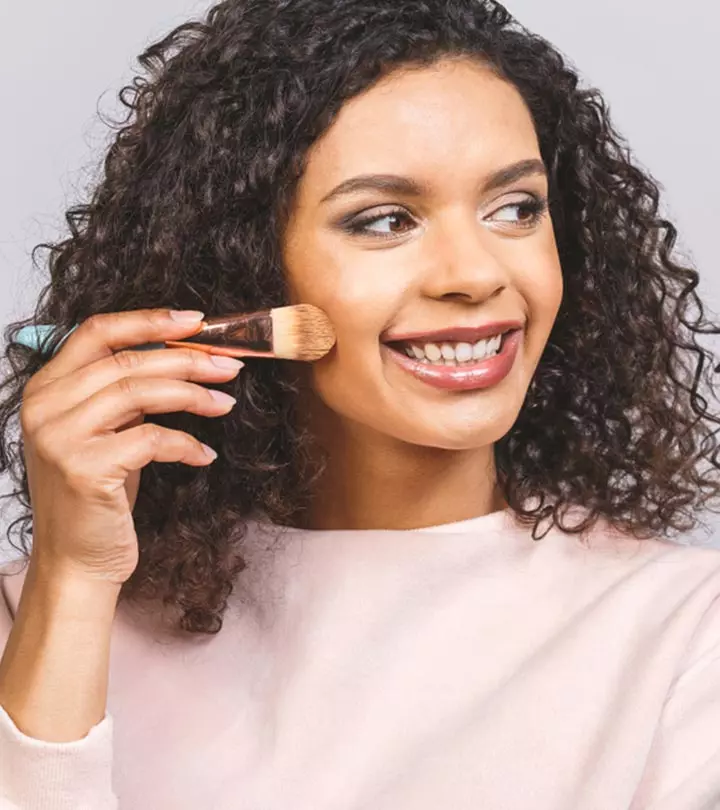
4. Blend, Blend, and Then Blend Some More

This step right here? It’s what separates the rookies from the glow queens.
No matter what formula you’re using: powder, cream, or liquid—blending is everything.
Use a brush, your fingers, or a beauty sponge, but whatever you do, make sure that blush melts into your skin.
No harsh lines allowed.
The goal is a soft, seamless color that looks like your skin is naturally blushing.
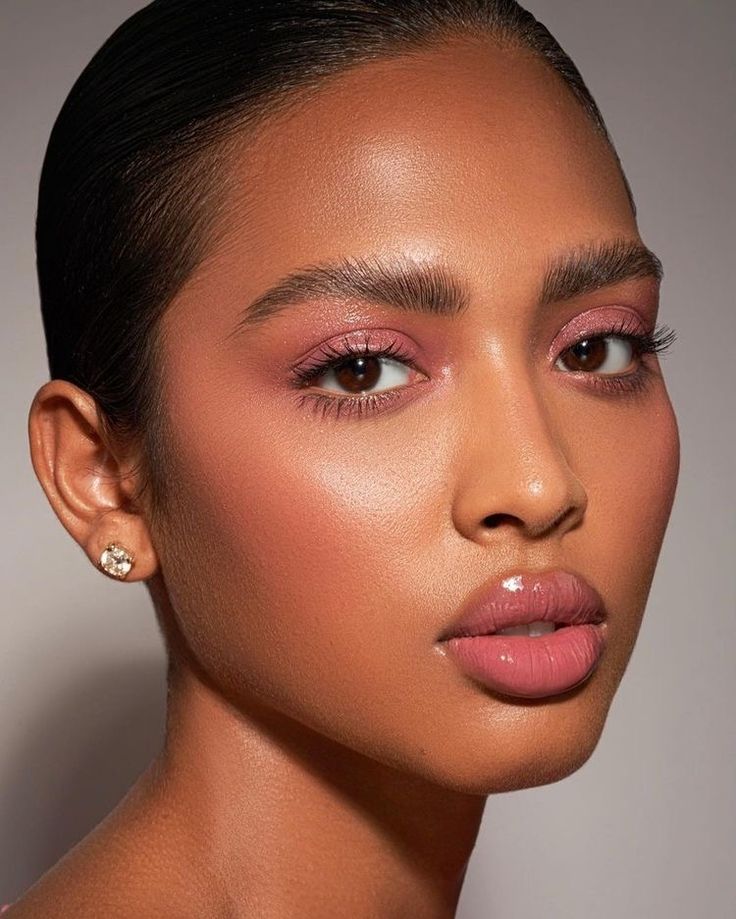
5. The “Sun-Kissed” Trick

Want to take things up a notch?
Try adding a little blush across the bridge of your nose. Yep, right there.
It gives you that fresh, just-got-some-sun kind of flush that looks super natural and effortless. Trust me—this little trick does wonders.
6. Layer for That All-Day Glow


Blush tends to fade, especially if you’re out and about. So what do we do? We layer, baby.
Start light, then build. If you really want it to last, try this: dab on a cream blush first, then top it off with a matching powder blush.
It locks everything in and gives you the kind of glow that stays put.
Conclusion

At the end of the day, blush is that little touch that makes a big difference.
It’s the soft whisper of color that wakes up your face and gives you that lit-from-within glow. And the best part is? It doesn’t have to be complicated.
With the right shade, the perfect formula, and a few placement tricks, you can go from “meh” to “main character energy” in seconds.
So whether you’re stepping out for brunch or just feeling at home, grab your favorite blush, smile into the mirror, and glow like you mean it.
Because girl, you were born to shine.
Read also: Best Dressed Celebrities of the week