Makeup
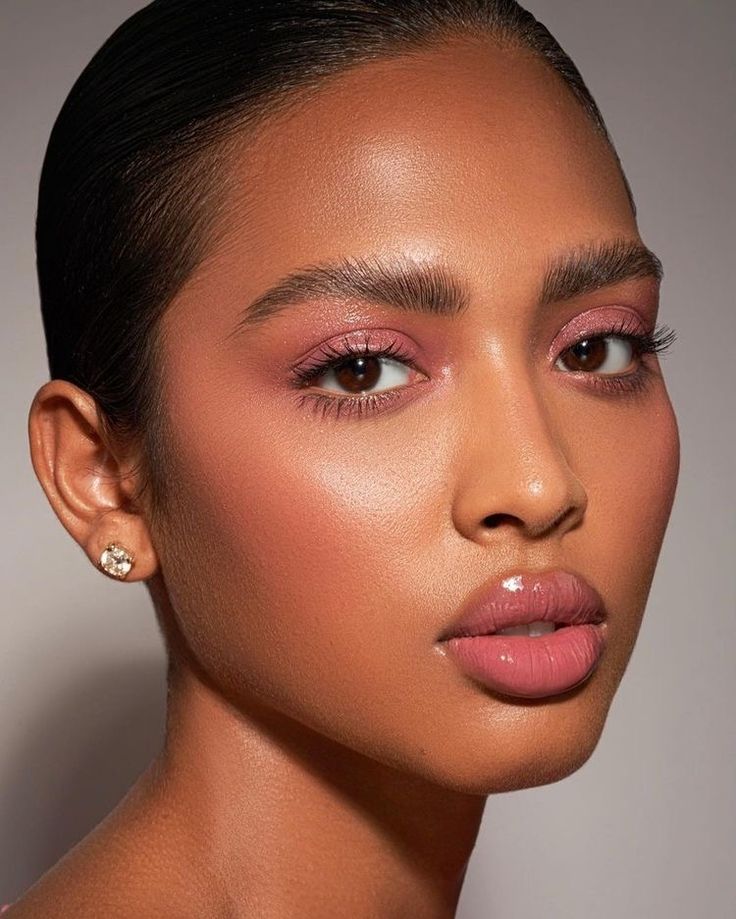
How to Apply Blush for the Best Glow
Blush might just be the most underrated step in a makeup routine.
It’s that little touch that can completely change your look—lifting your face, adding warmth, and making your skin look fresh and alive.
Whether you’re going for soft and subtle or bold and rosy, blush helps you pull everything together effortlessly.
But let’s be real: sometimes it feels like you’re just smudging color on your cheeks and hoping for the best, right?
If you’ve ever felt that way, you’re not alone.
In this article, I’m breaking down how to apply blush like a pro so you can get that natural, glowy finish every time.
1. Pick the Right Shade for Your Skin Tone
Let’s start with the golden rule: not every blush is your blush. The secret to that “just got back from vacation” glow is choosing a shade that flatters your skin tone.
For fair skin— Soft pinks and peaches are your besties.
For medium skin tones— Think warm apricots, rose, or mauve—they’ll melt right into your skin.
Deep skin— Go bold! Rich berries, deep oranges, and warm reds will pop beautifully.
2. Choose the Right Formula
Okay, so now that you’ve got your perfect shade, let’s talk texture. Because yes, your skin type matters here too.
If your skin is oily, powder blush is your go-to—it stays in place without sliding off.
Dry or normal skin? Cream blush is your glow-in-a-compact. It blends like a dream and gives that natural “lit from within” vibe.
And if you’re all about that lightweight, dewy finish? Liquid blush might just be your new obsession.
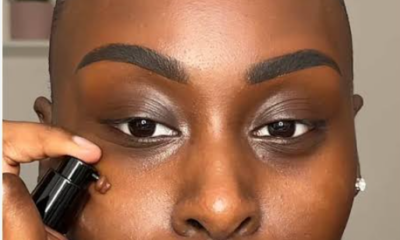
3. Know Where to Apply It (Your Face Shape is the Clue)
Blush
Blush isn’t a one-size-fits-all kind of deal.
Where you place it depends on your face shape and that’s the real tea. Got a round face? Sweep it a bit above the apples of your cheeks to lift everything up.
Oval? You’re lucky; blush looks good right across the apples and blended back toward your temples.
Square face? Focus on softening those angles—keep it on the apples and blend outward.
Heart-shaped? Start just under the outer corners of your eyes and blend down a bit; it balances everything out beautifully.
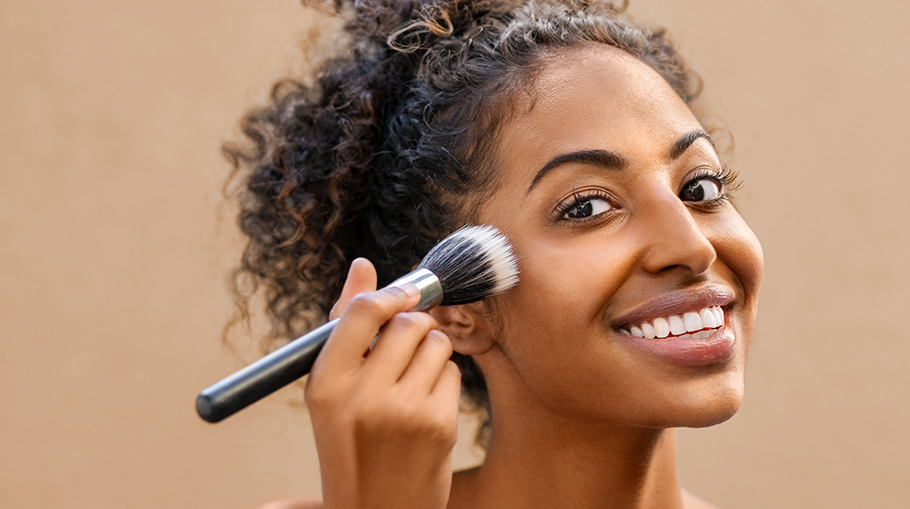
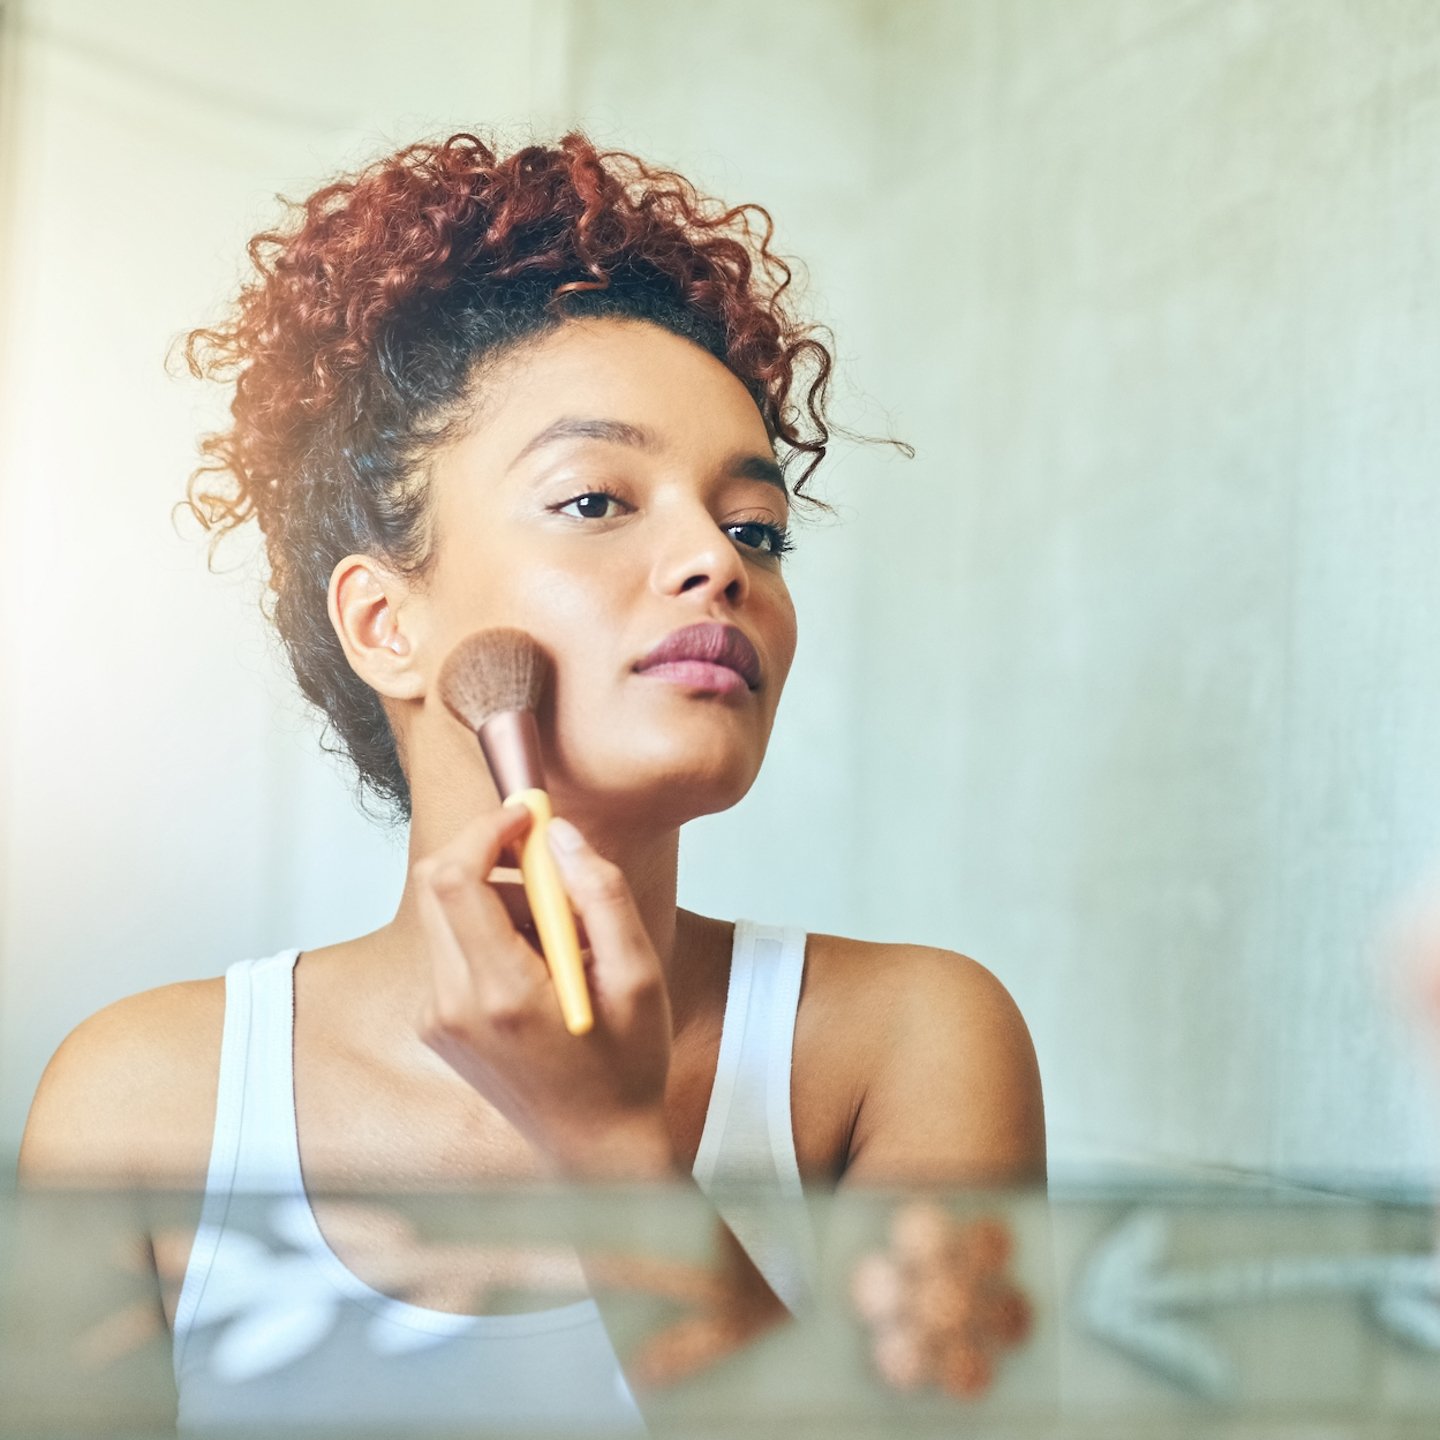
4. Blend, Blend, and Then Blend Some More
This step right here? It’s what separates the rookies from the glow queens.
No matter what formula you’re using: powder, cream, or liquid—blending is everything.
Use a brush, your fingers, or a beauty sponge, but whatever you do, make sure that blush melts into your skin.
No harsh lines allowed.
The goal is a soft, seamless color that looks like your skin is naturally blushing.
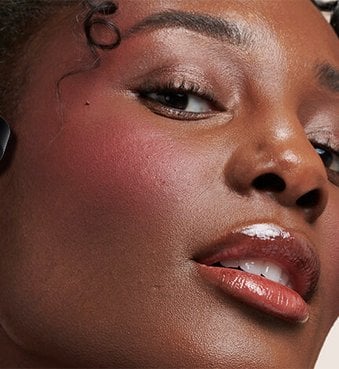
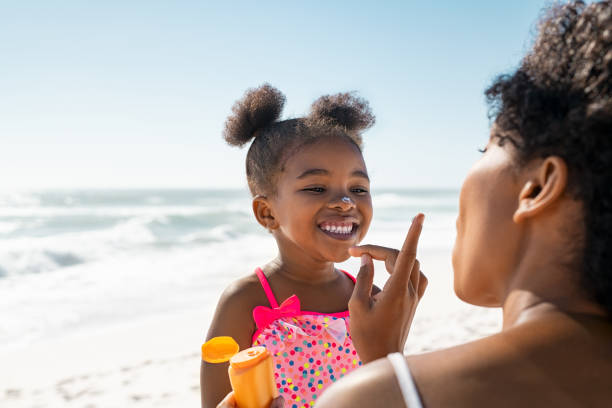
5. The “Sun-Kissed” Trick
Want to take things up a notch?
Try adding a little blush across the bridge of your nose. Yep, right there.
It gives you that fresh, just-got-some-sun kind of flush that looks super natural and effortless. Trust me—this little trick does wonders.
6. Layer for That All-Day Glow

Blush tends to fade, especially if you’re out and about. So what do we do? We layer, baby.
Start light, then build. If you really want it to last, try this: dab on a cream blush first, then top it off with a matching powder blush.
It locks everything in and gives you the kind of glow that stays put.
Conclusion
At the end of the day, blush is that little touch that makes a big difference.
It’s the soft whisper of color that wakes up your face and gives you that lit-from-within glow. And the best part is? It doesn’t have to be complicated.
With the right shade, the perfect formula, and a few placement tricks, you can go from “meh” to “main character energy” in seconds.
So whether you’re stepping out for brunch or just feeling at home, grab your favorite blush, smile into the mirror, and glow like you mean it.
Because girl, you were born to shine.
Read also: Best Dressed Celebrities of the week


Finding the right foundation shade can feel confusing, especially with so many options on the market. Many people end up with a shade that looks too light, too dark, or slightly off once they step outside. The good news is that choosing the right match does not have to rely on guesswork. With a few practical steps and a bit of patience, you can find a foundation that blends seamlessly into your skin.
The first thing to understand is your undertone. This is different from your skin tone, which can change with sun exposure. Undertones stay the same and usually fall into three groups: warm, cool, or neutral. A simple way to check is by looking at the veins on your wrist. If they appear green, you likely have warm undertones. If they look bluish or purple, you lean cool. If it is hard to tell, you are probably neutral. Knowing this helps you narrow down shades that will actually complement your skin instead of clashing with it.
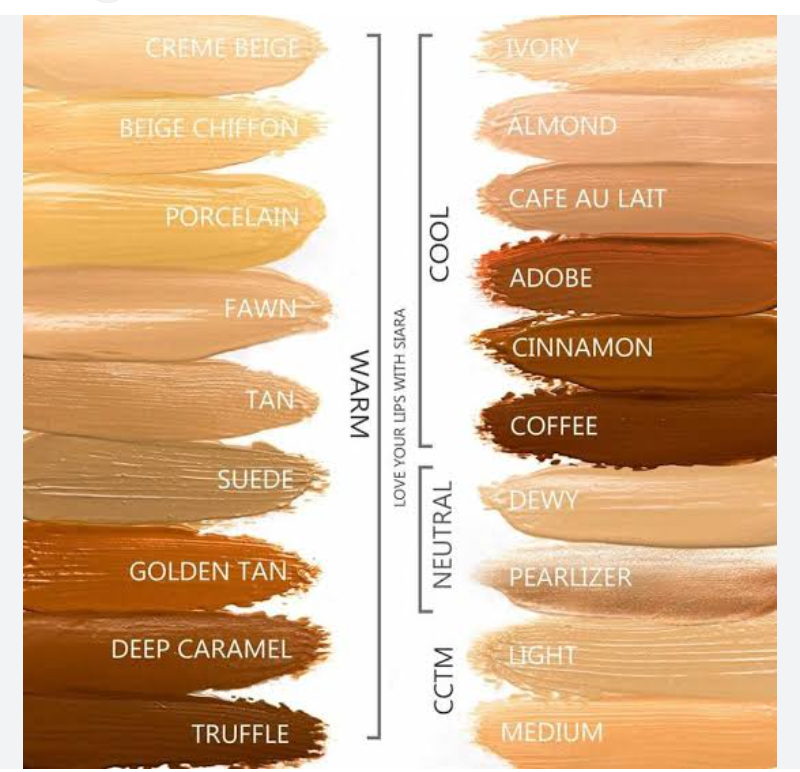
Photo: Stock photos
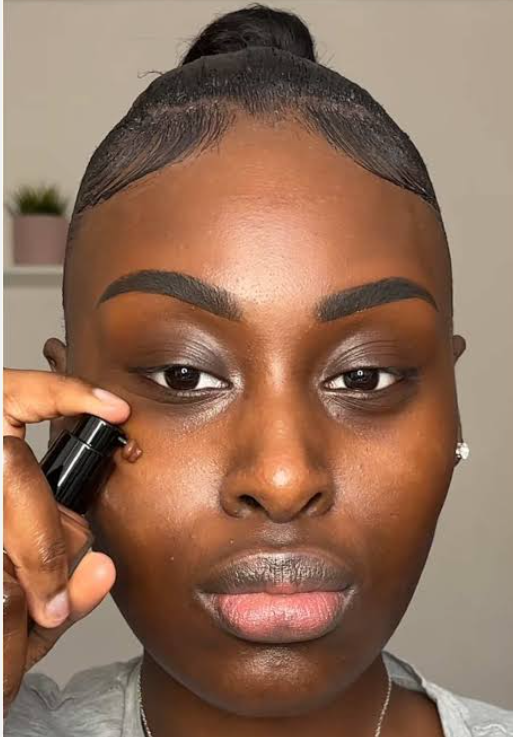
Testing foundation on your jawline is another step that makes a big difference. Many people try it on their hand, but the skin there often does not match your face. The jawline gives you a better view of how the shade blends between your face and neck. Apply a small amount, blend it slightly, and observe. The right shade should almost disappear into your skin without leaving a visible line.
Lighting also matters more than most people think. Store lighting can be misleading, especially if it is too bright or tinted. Always check the shade in natural light before making a decision. Step outside or stand near a window. What looks perfect indoors can appear completely different in daylight.
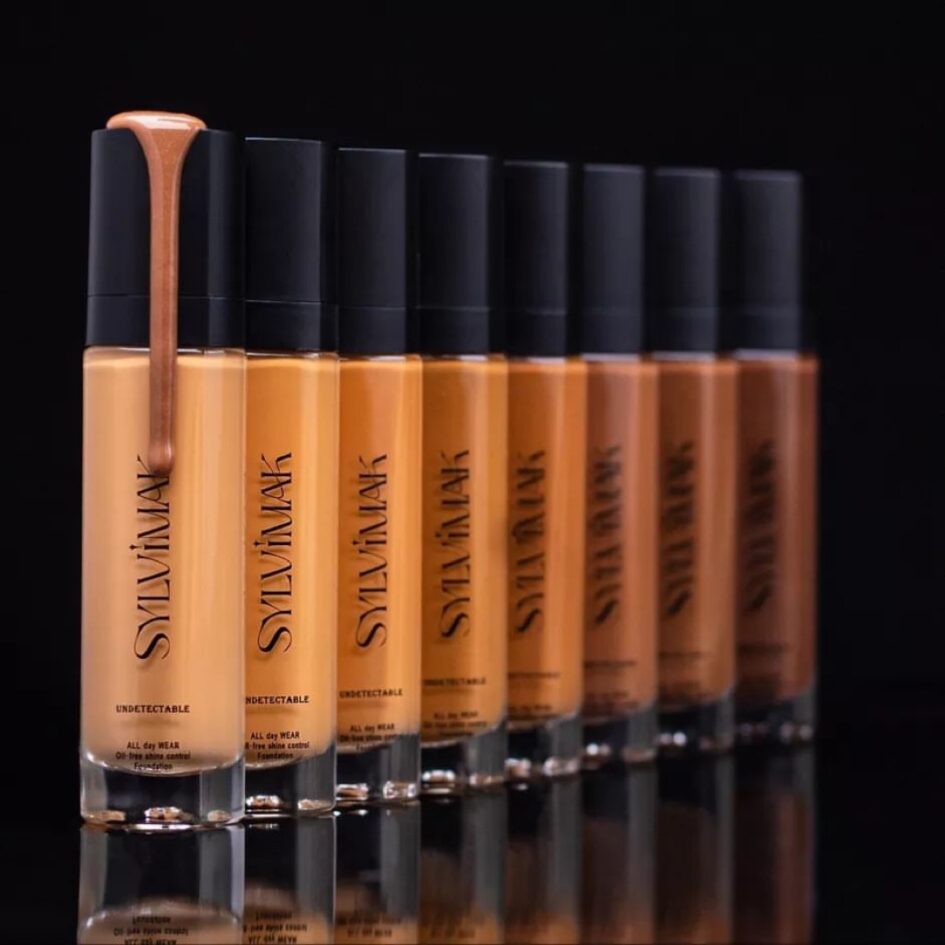
Photo: Sylvimak-Foundation
It also helps to test more than one shade at a time. Instead of settling on the first option that seems close, try two or three similar shades side by side. This makes it easier to compare and spot which one truly matches. If you are in between shades, choosing the slightly darker option often looks more natural than going lighter, as lighter shades can appear ashy.
Another detail people overlook is how foundation changes after application. Some formulas oxidize, meaning they get a bit darker after a few minutes. After applying, give it time to settle before deciding. Walk around, let it sit on your skin, and then check again.
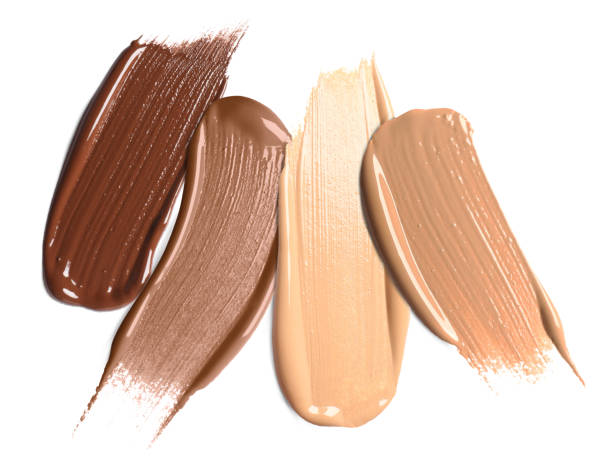
Photo: Stock photos
If you are shopping online, try to use brand shade finders and read reviews from people with similar skin tones. While it is not as accurate as testing in person, it can guide you in the right direction. You can also stick to brands you have used before and compare shade descriptions.
Choosing the right foundation shade is not about getting lucky. It is about paying attention to your undertone, testing in the right place, and checking your match in natural light. Once you understand these basics, the process becomes much easier. In the end, the right foundation should look like your skin, just more even and polished.
Is there anything more frustrating than stepping out with a full beat, only for the rain to mess it all up? The moment it starts pouring, your eyes are usually the first part of your makeup to fall apart. Sometimes, your makeup might even be waterproof — maybe you’ve sprayed on one of those long-lasting setting sprays that claim to hold everything in place — but once you’re caught in the rain, you start seeing two black streams running down your cheeks. That’s when you start blaming the spray, but really, the problem is your mascara.
With the kind of weather we’ve been having in Nigeria lately — rain showing up without any warning — your lashes need more than just any regular mascara. You need something stronger. This is where weatherproof mascaras come in. They’re built to hold up against sweat, humidity, and those surprise downpours that catch you off guard. The best part? Some of the best ones are actually made right here at home.
Nigerian Brands
Nigerian beauty brands have been stepping up in a big way, and their mascaras are no exception. These mascaras are known for their longevity and stronghold.
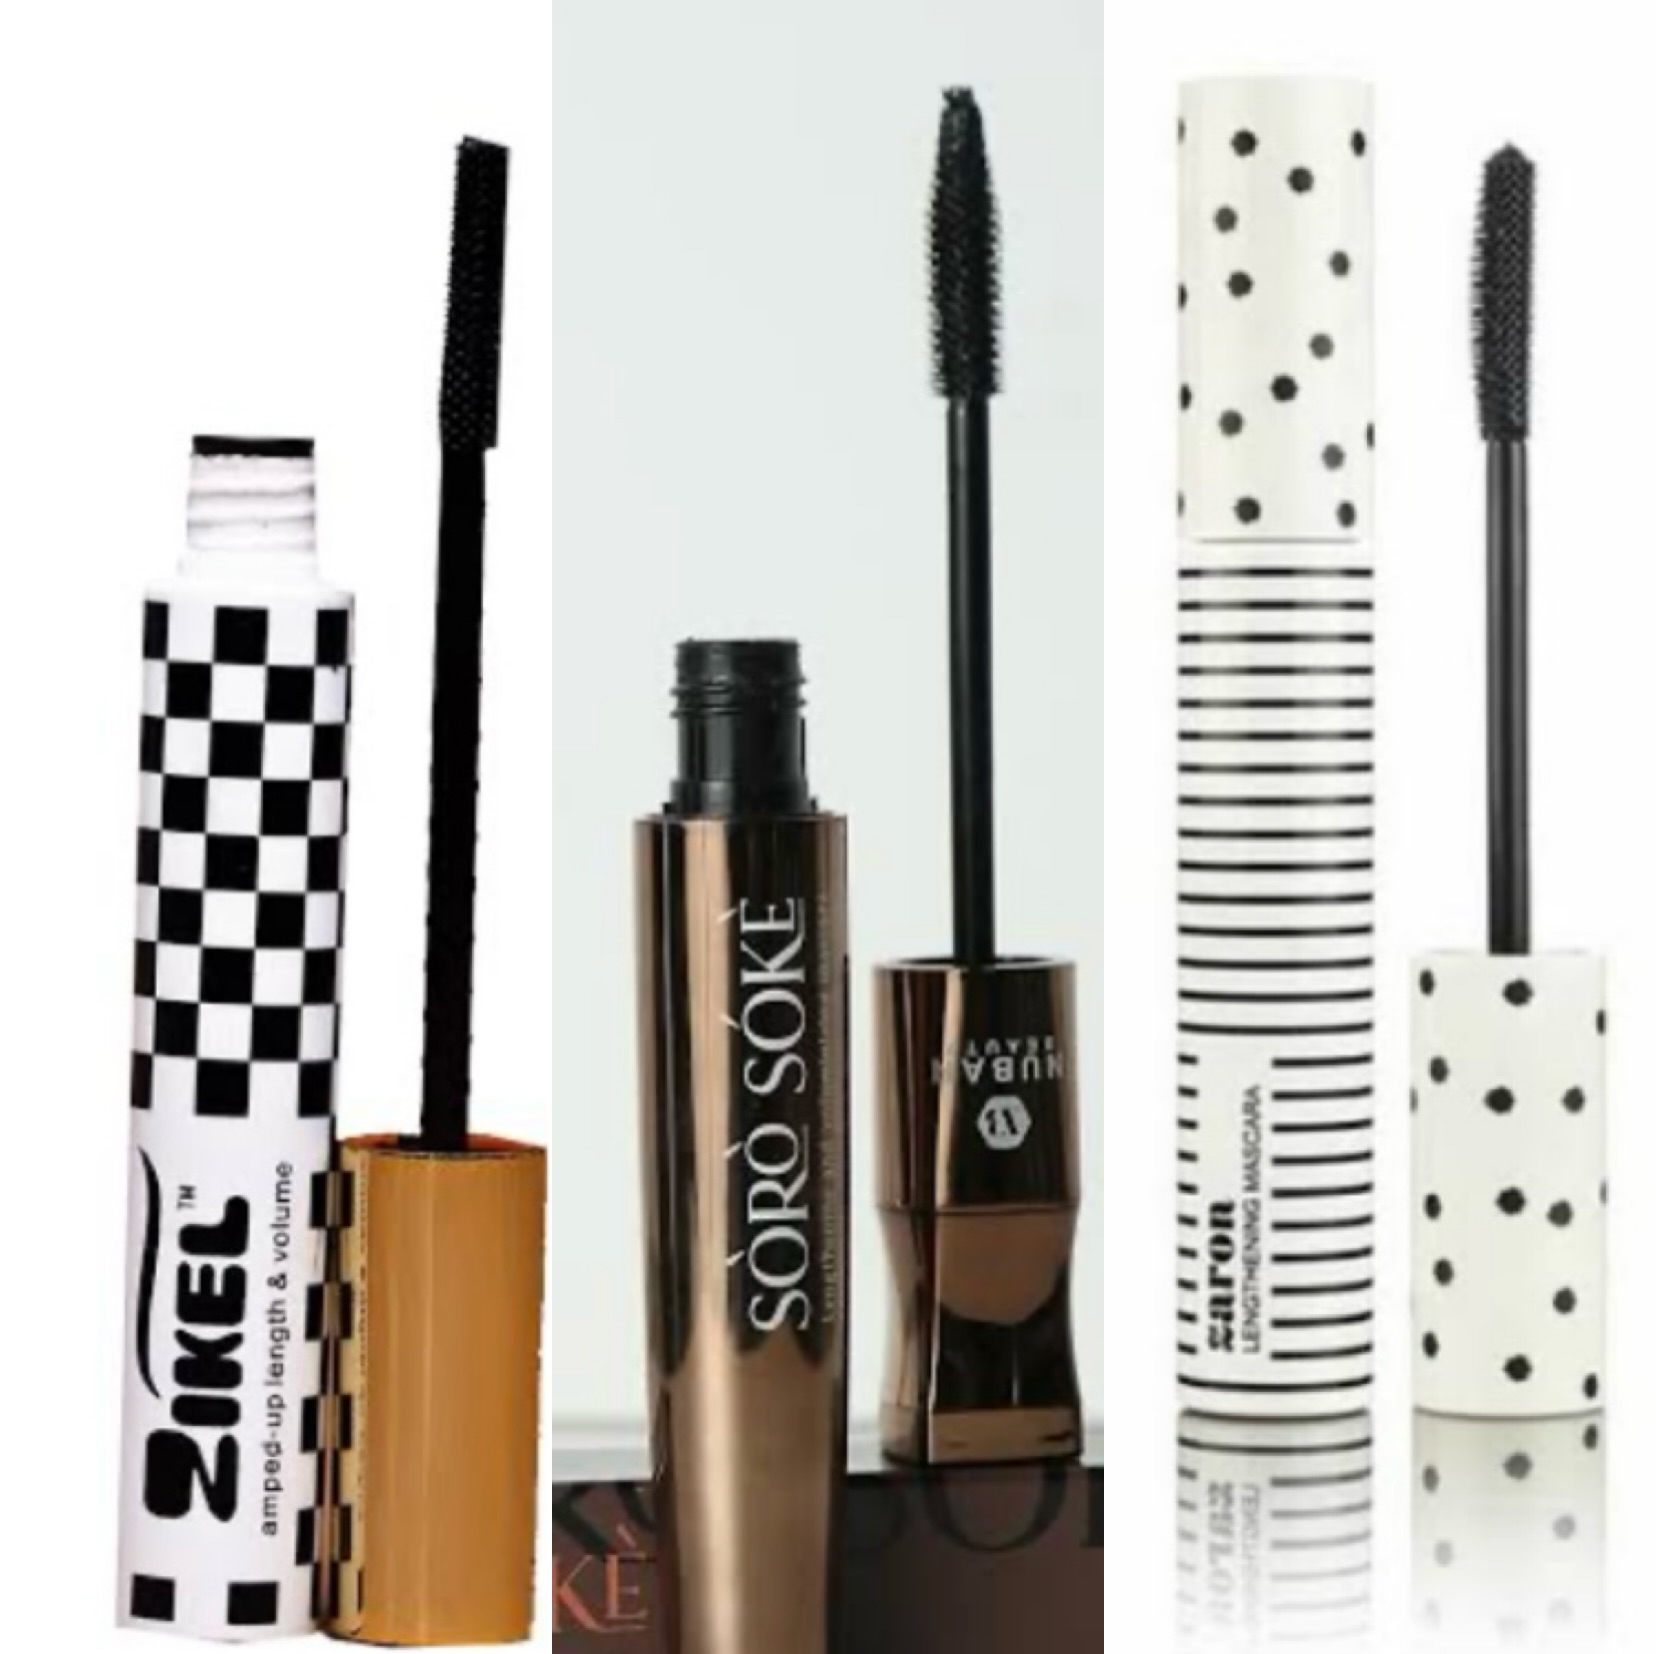
Zaron’s Lengthening Mascara
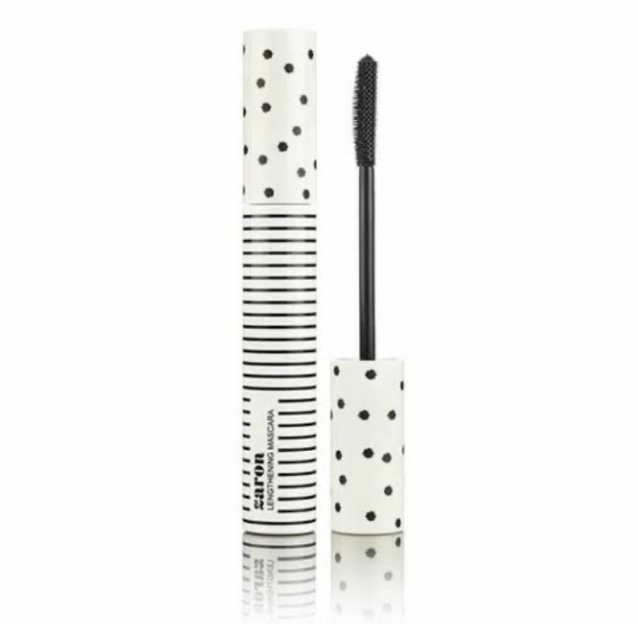
Zaron cosmetics
It gives the a beautiful extension, the wand is designed to lift every strand of the lash and give definition without clumping, and more importantly — it doesn’t budge.
Soro Soke Lengthening and Voluminizing Mascara
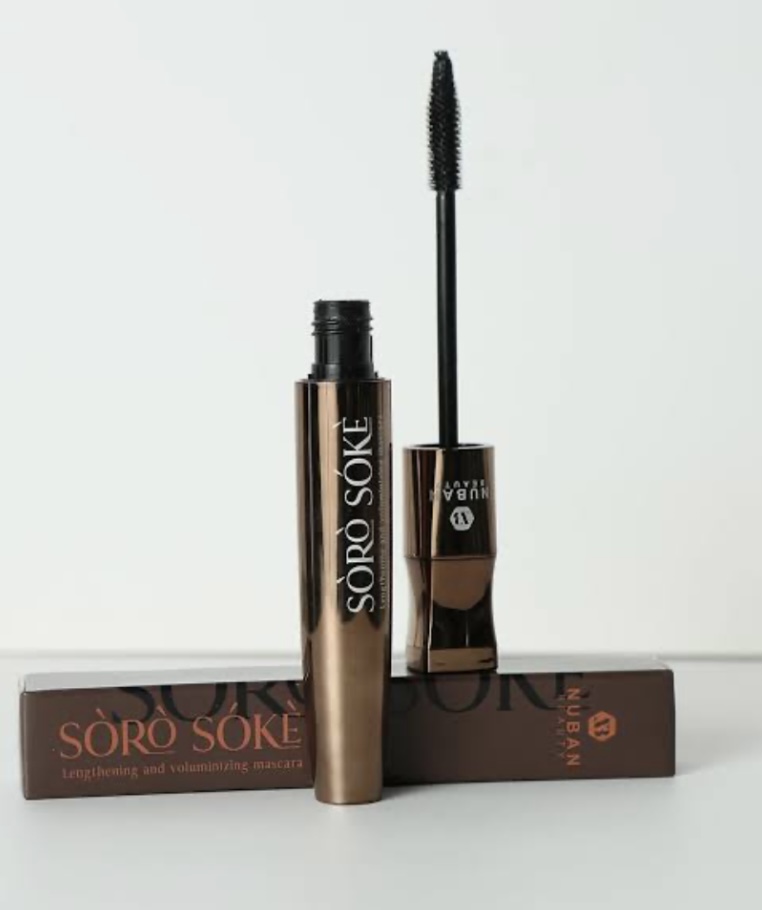
Nuban beauty
As the name implies, it brings drama — in a good way. Bold volume, intense black pigment, and a formula that resists water and smudges, perfect for a rainy weather.
Eyetension Mascara
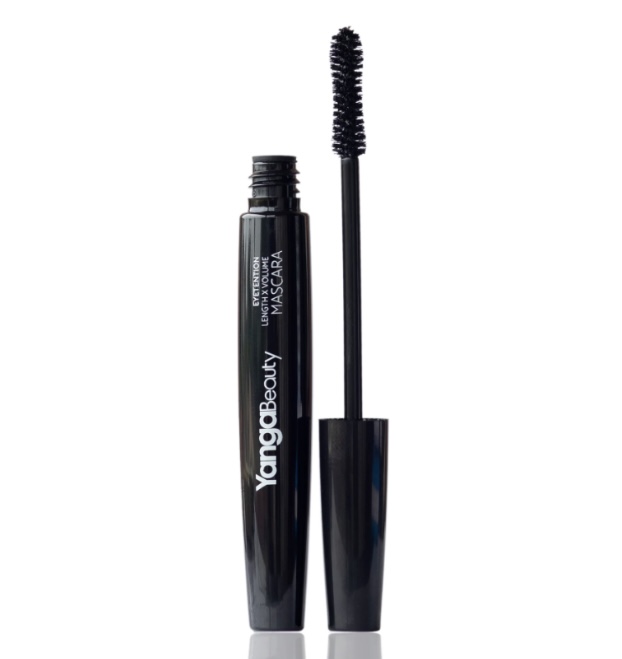
Yanga beauty
It’s known for giving that natural lash extension look, it separates and elongates each lash. The formula is water-resistant, so your lashes stay curled and lifted all day.
Tara False Eyelash Effect Mascara
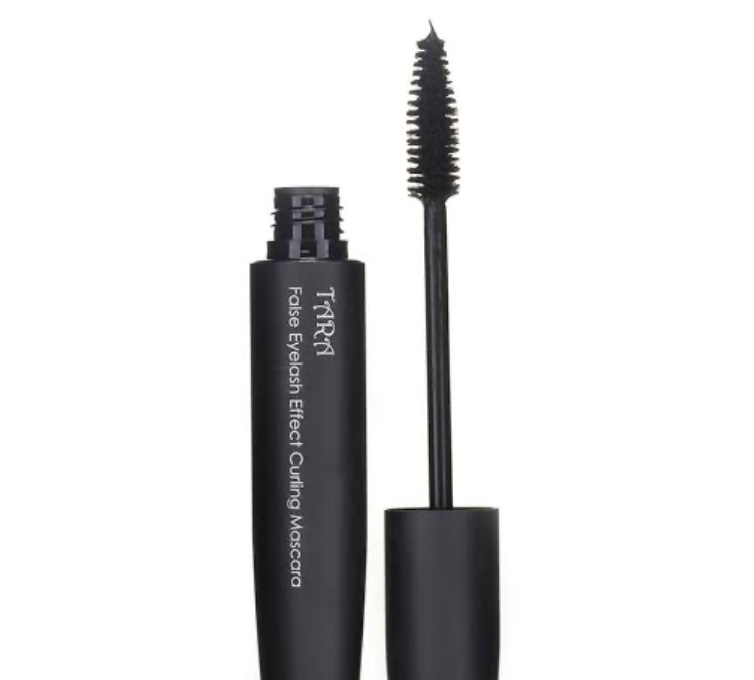
House of Tara
For those who like their lashes thick, bold and still want that long-lasting effect, House of Tara’s Volumizing Mascara comes through with a strong pigment that delivers. It builds nicely without making your lashes feel heavy or stiff, which is very helpful for the weather.
Zikel High Impact Mascara
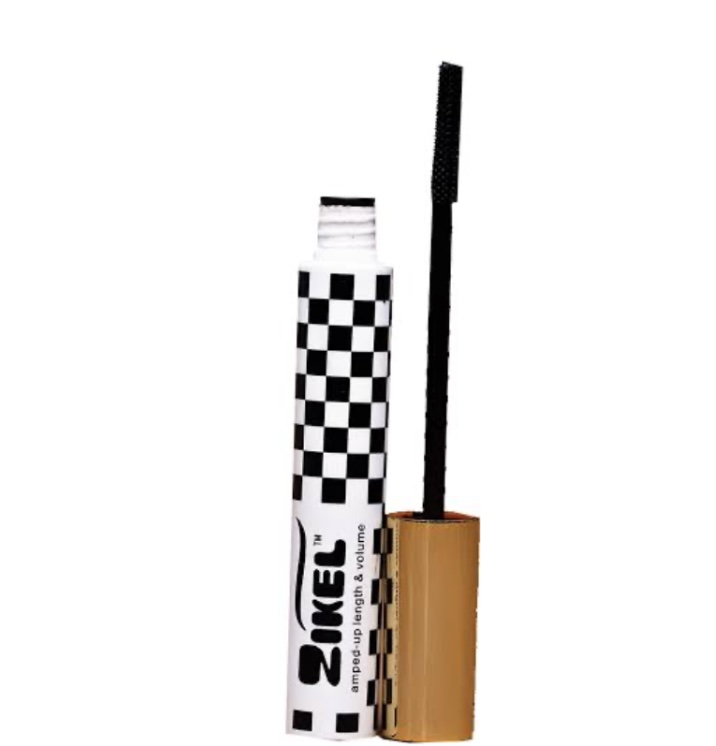
Zikel cosmetics
This one promises all-day wear with major volume, clump-free and most importantly smudge-proof. It holds up impressively well in Nigeria’s humid climate and sudden downpours.
With so many homegrown options, you don’t have an excuse to skip mascara application just because the weather is unpredictable. The secret is to find a formula that not only delivers on volume, length, or curl — but also water resistance.
Final Thoughts
So, the next time it looks like rain, don’t panic. Your outfit might need an umbrella, but your lashes won’t — they’ve got their armor on. Thanks to these Nigerian-made mascaras, you can stay flawless and put-together, come rain or shine.

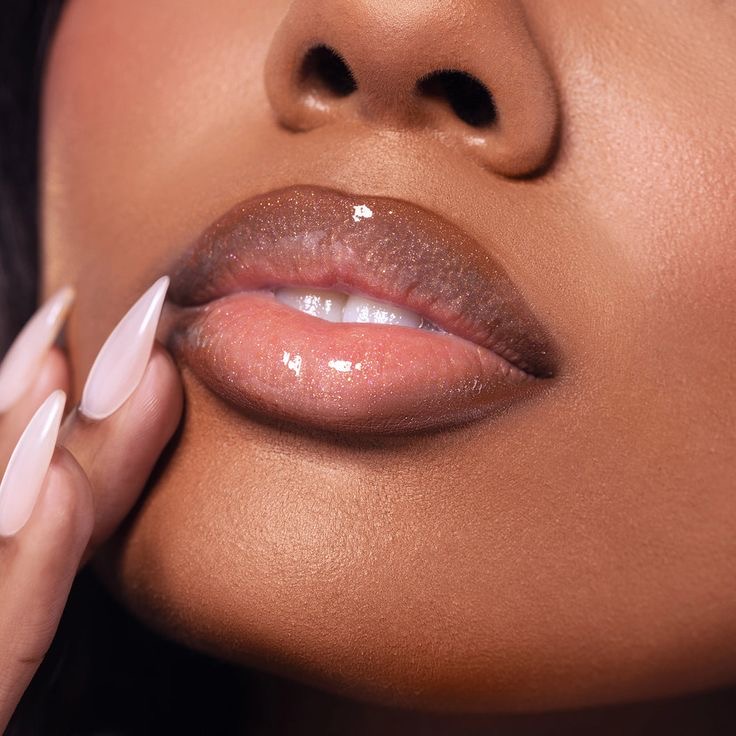
Some lipstick shades come and go, but the nude lip? That one stays. It’s every Black girl’s magic-it’s soft, effortless, and it works every single time — especially on melanin-rich skin.
This isn’t about a regular, boring nude. We’re talking about that combo: a brown liner, a creamy nude shade, and a touch of gloss to pull it all together. It’s the kind of lip that complements everything — from bold eyes to no-makeup days. Just ask any Black girl who’s mastered soft glam: the nude lip is the go-to.
Celebrities like Tiwa Savage, Ayra Starr, and Sharon Ooja, have been seen rocking this look everywhere — from stage performances to red carpet events. Why? Because it enhances your features without overpowering them. It’s clean. It’s polished. It’s that girl energy.
And if you’re wondering where to find your perfect nude combo, a few Nigerian beauty brands have already cracked the code. Beauty by AD’s Lipgloss in “Melanin”, Yanga Beauty’s “Gidi” Lipstick, and Nuban Beauty’s “Nude Luv” Lip Collection all offer those perfect nude shades that melt beautifully into deeper complexions. Just line, fill, gloss — and glow.
Final thoughts
You don’t need a full beat for it to shine. Just groomed brows, some lashes, and your perfect nude combo, and you’re good to go.
If there’s one lipstick look that deserves a permanent spot in your makeup routine, this is it. Soft. Chic. Always in style.

Everything You Need to Know About Toner Pads

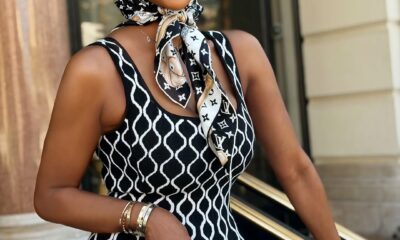
Laura Ikeji Proves Polka Dots Are Back and Better Than Ever

Tems to Executive Produce Children of Blood and Bone Soundtrack

Davido Unveils Oriadé Tracklist Featuring Black Sherif, Aya Nakamura and Leon Thomas

“Clarissa” Brings a Nigerian Adaptation of Mrs Dalloway to Cannes Film Festival

Genevieve Nnaji Returns to Screen in BBC Drama Series “Wahala” Alongside Adelayo Adedayo & Cush Jumbo

Nike and Slawn Unveils Nigeria’s 2026 World Cup Collection.

Rihanna and Rocki Make History in a First-of-Its-Kind Mother–Daughter Cover Feature

Tiwa Savage Reveals Why Her Private Video Was Leaked.

5 Nollywood Films to Watch This Weekend.
The Dangers of Adult Skincare Products for Children and Teens.

New Music to Kickstart Your Week From Victony, Timaya, Duncan Mighty, Mr Eazi & Fave.


-

 Music2 months ago
Ayra Starr’s “Tornado” Video Enters an Unbelievable New World.
-

 Celebrity Style2 months ago
Dede Ashiogwu Puts Y2K Nostalgia Back on the Radar
-

 Celebrity News1 month ago
DJ Cuppy Explains Why She Cannot Marry a Nigerian and Reflects on Her Past Relationships.
-

 Netflix1 month ago
‘The Polygamist’: Nigerians Weigh In on Netflix’s New Series.
-

 Lifestyle2 months ago
Celebrate Father’s Day with the Ultimate Gift Guide for Dads.
-

 Big Brother Naija2 months ago
Big Brother Naija Reunion 2026: Drama Unfolds Between Kola, Big Soso and Others.
-

 Lifestyle2 months ago
Dotun Popoola Turns Waste Into Art in Reclaimed Beauty.
-

 Celebrity Style2 months ago
Sophia Egbueje’s Orange Bikini Offers an Edgy Twist on a Summer Staple
-
 Celebrity Style2 months ago
Chioma Ikokwu, Venita Akpofure and More Celebrities Show Off Vacation Style
-
 Celebrity News2 months ago
Ayra Starr Is the Cover Girl for Schön Magazine