
Beauty
From Natural to Glam: 3 Makeup Tutorials for Beginners.


Unlike the stereotype for many years before now that makeup was used by women who are not beautiful to make themselves look, and feel beautiful, makeup is an excellent tool used by beautiful women to enhance their facial features.
It is also used to express their creativity and boost their confidence. So, it does not matter whether you are a beginner or not, all there is to do is to learn the basics and you are good to go.
In this article, we will run you through different ways to do your makeup well as a beginner.
Makeup for Dark Skin.
If you are a dark skin girlie, it is important that you know how to do your makeup in a way that will maintain your skin tone when you are done. Here is a step by step tutorial on how to do your makeup as a dark skinned girl.
- Hydrate your skin and let it get absorbed for a few minutes.
- Go in with your moisturizer.
- Rub your primer. This is to enable your makeup to last longer without cracks.
- Note to let it sit for a few minutes.
- Use a liquid highlighter to get an extra glow. However, this is optional.
- Go in with your foundation and blend it into your skin. with your beauty blender.
- Lock it in with a setting spray.
- Contour the face, then go in with the blush. You can use your eye shadow palette for the blush.
- Use a concealer to highlight the face.
- Blend in the concealer and then contour the nose to give it a perfect look.
- Apply concealer under the eyes to make it more highlighted.
- Apply extra blush on your cheekbone and set with a setting powder.
- Set the rest of the face with an oil control powder.
- Enhance our brows by using an eye pencil to carve your desired shape.
- Apply any shade of eye shadow of your choice.
- Use mascara to define those eyes.
- Use a lip liner to line your lips, apply lipstick of your choice and gloss your lips.
- Set with a setting spray and you are good to go.
You can watch a more detailed video, below.
Read Also: Celebrity Makeup Inspiration: 5 Stunning Looks to Try
Befitting Birthday Bash Look.
Do you have to attend a friend’s birthday bash and do not want to look odd because you can’t do your own makeup? Then,this tutorial is for you. Below is a guide on how to do your own simple makeup to attend any event that you were invited to.
- Do your brows. This is because your brows tend to slip so it is easier to do it when there are no products on your face. Go in with a concealer that matches your skin tone after drawing your brows to lock it in and define the brows more.
- Do your eyeshadow. Doing this before continuing with the rest of your face prevents particles of the eyeshadow from falling to your already made face.
- Fix your eyelashes.
- Go in with your primer.
- Apply your foundation.
- Contour your face to give it some shadow. It is advised to use a shade of contour two or three shades darker than your foundation.
- Conceal your under eye and the T zones of your face then slowly blend it in.
- Set all of these products on your face using a setting powder.
- Go in with a bronzer.
- Use a powder to lock it all up.
- Set with a setting spray and use your mascara.
- Line your lips with a lip liner, go in with any color of lipstick for your choice then gloss your lips.
There’s a detailed video below. You can watch for more guidance.
Everyday Makeup Look.
Whether you are on your way to school, or work, you do not have to carry your face around bare and without makeup.
Here is a simple tutorial on how to do simple everyday makeup.
- Go in with your foundation.
- Contour your under eye.
- Brush your eyebrows to shape.
- Set with a setting powder. Start with your under eye and move to the T zones from there.
- Go in with a bronzer.
- Apply blush on your cheek bones and blend.
- Lightly line your lips and gloss it.
- Let it set in using a setting spray and allow to dry.
- Apply mascara to make your lashes more defined.
And you are good to go. You see how easy that is?
You see, doing your makeup is not asq difficult as you think. Whether you want to attend an event or just need to go on a casual outing, all you need to know are the basics of makeup and you are good to go.
I hope this helped you.










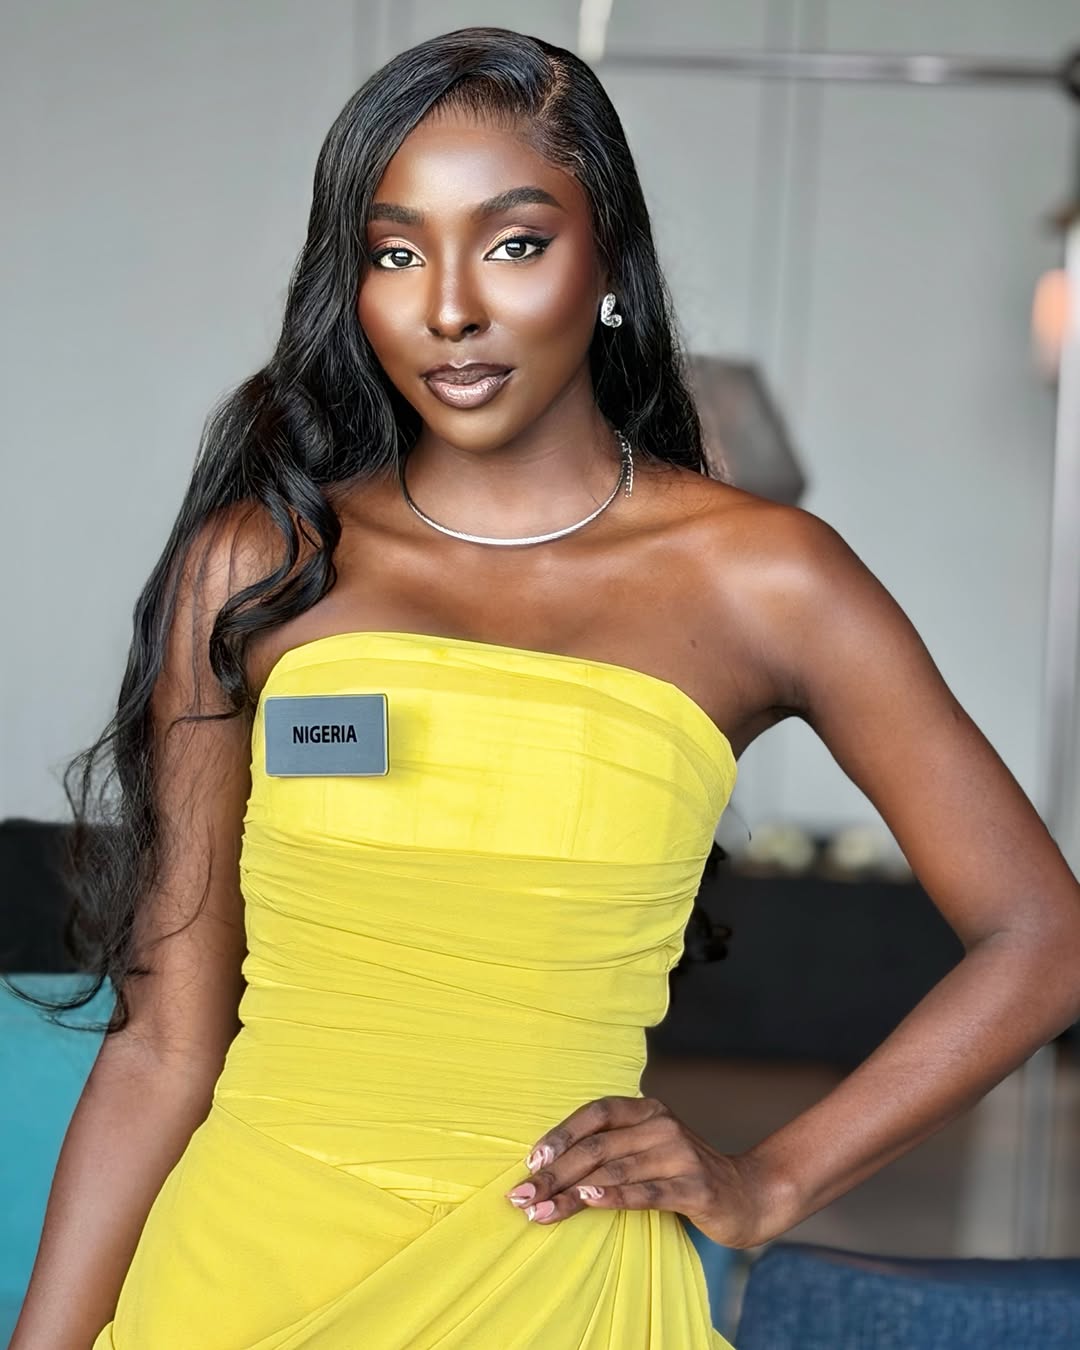
Tamunosoye Karibi-George is a 26-year-old Nigerian beauty queen currently representing the country at the 75th Miss World festival in Vietnam, competing for the international title.
Karibi-George earned the national crown on June 6 at Balmoral Hall, Federal Palace Hotel, Lagos, where she won the crown after competing against 19 other contestants under the theme “Pride, Power, and Purpose.”
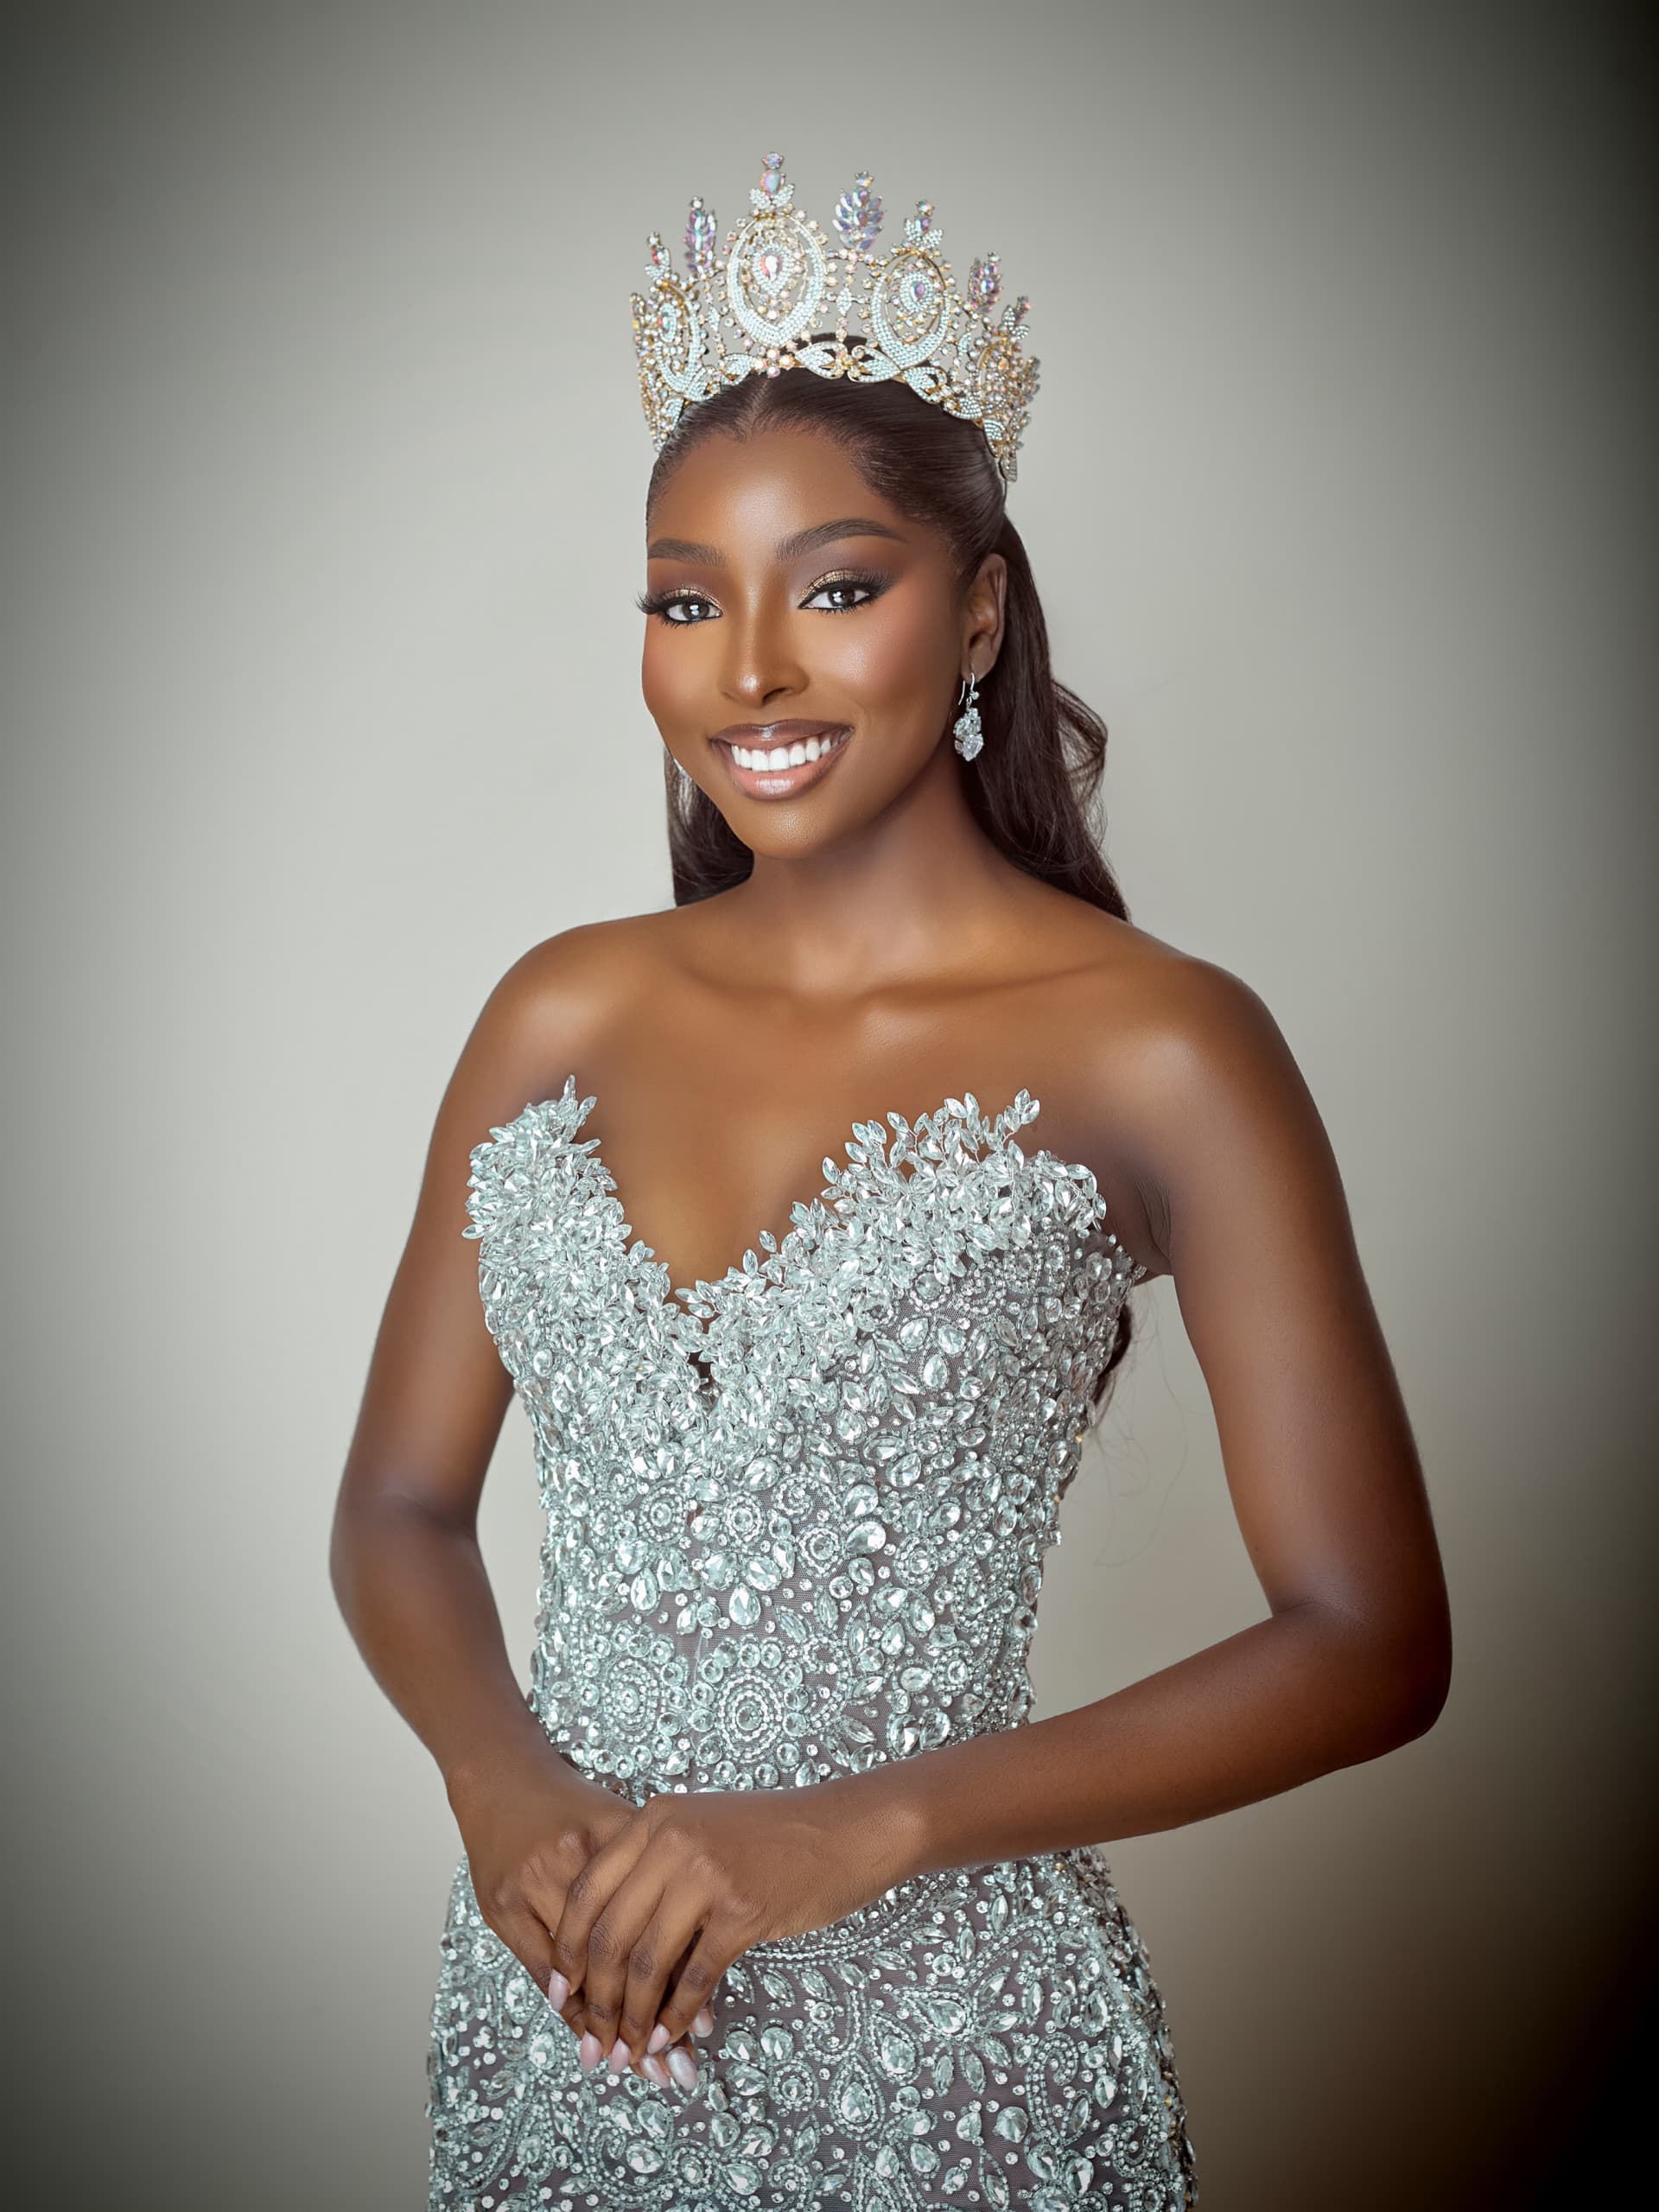
Photo: Instagram/@soye_kg
Although she represented Bayelsa State in the national competition, Karibi-George is a native of Port Harcourt, Rivers State. She is a communications professional who studied at Madonna University, Okija, and is an associate of the Nigerian Institute of Public Relations.
She had already gained international pageant experience before winning the Miss World Nigeria crown in 2024.
A key part of her profile is her work with children with disabilities and special needs. Through her initiative, Beyond Labels, she advocates for inclusion, dignity and opportunities for children. The project aims to create spaces where children can develop their talents and pursue their ambitions.
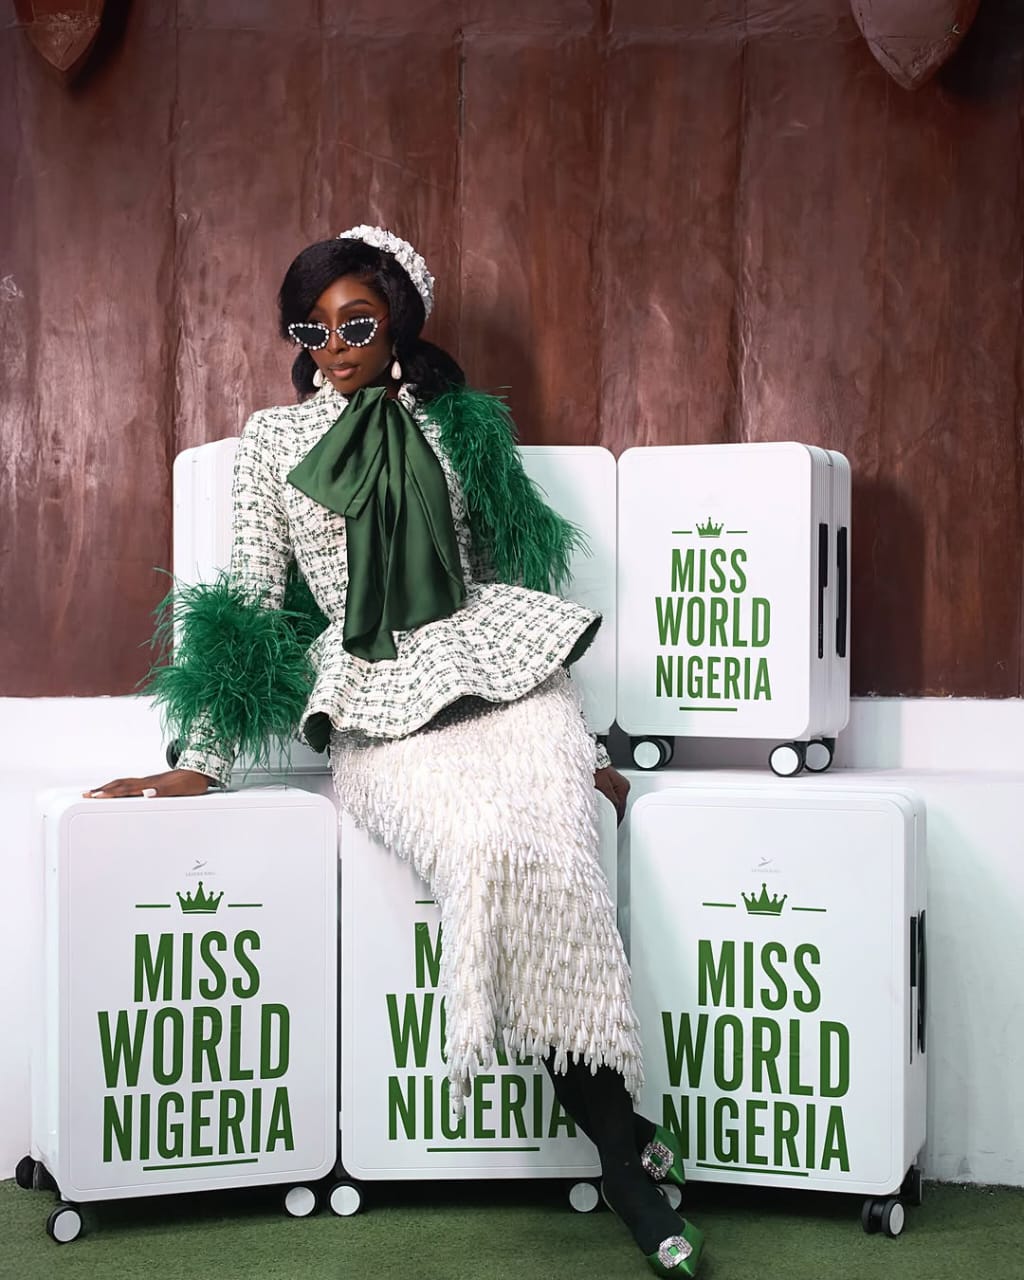
Photo: Instagram/@soye_kg
Her advocacy has continued to promote the cause since winning the national title. In June, she met with the Minister of Women Affairs and Social Development, Imaan Sulaiman-Ibrahim, to discuss ways of expanding Beyond Labels and creating possible partnerships for the initiative.
Karibi-George arrived in Vietnam ahead of the 75th anniversary edition of the Miss World Festival, which runs from August 9 to September 5, 2026. The grand final is scheduled for September 5 in Nha Trang.
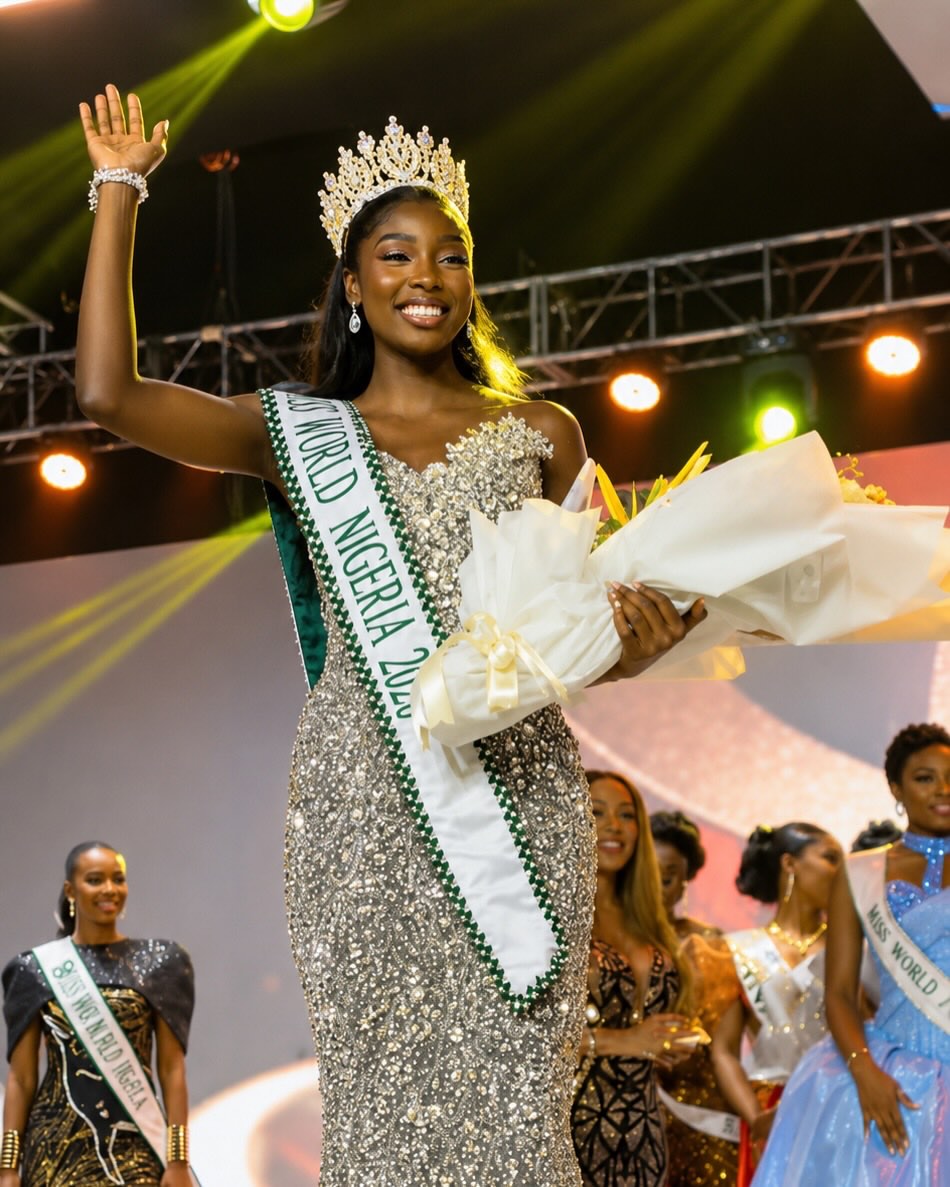
Photo: Instagram/@soye_kg
She takes over the Miss World Nigeria title from Joy Mojisola Raimi, who represented Nigeria at the previous edition, reaching the Top 20 and finishing among the Top Five contestants from Africa.
Ahead of her departure, Karibi-George described the trip as an opportunity to represent Nigeria’s culture and values while continuing to promote the Beyond Labels initiative.

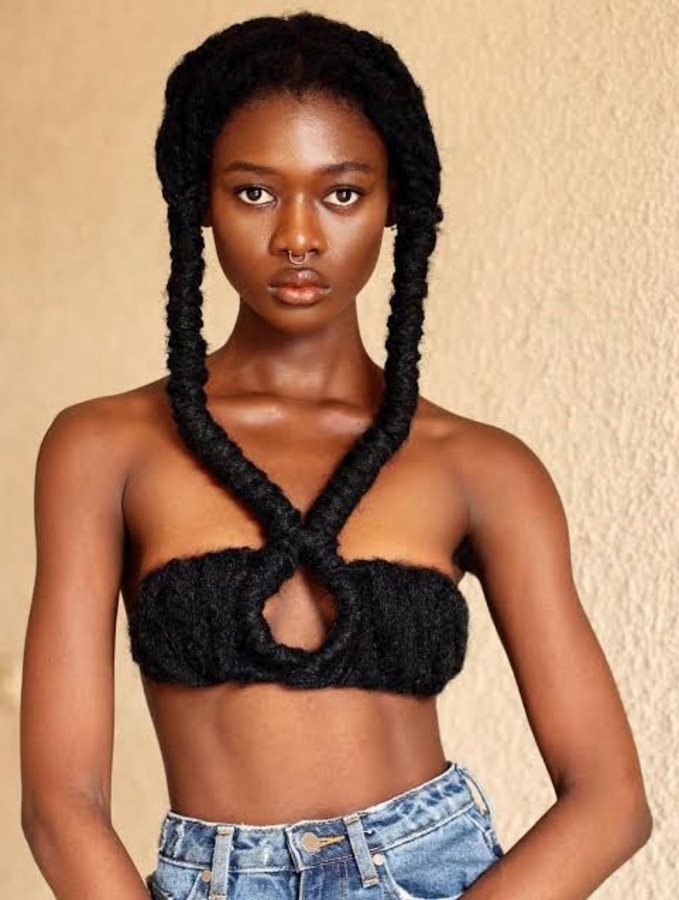
Laetitia Ky has transformed natural hair into a unique art form. The artist uses her hair to create sculptures exploring African identity, feminism and women’s experiences.
She was born in Abidjan, Côte d’Ivoire, in 1996, and grew up surrounded by women who braided their hair. Ky learnt braids from a young age before entering in fashion. After high school, she gradually returned to wearing her natural hair and began experimenting with different styles.
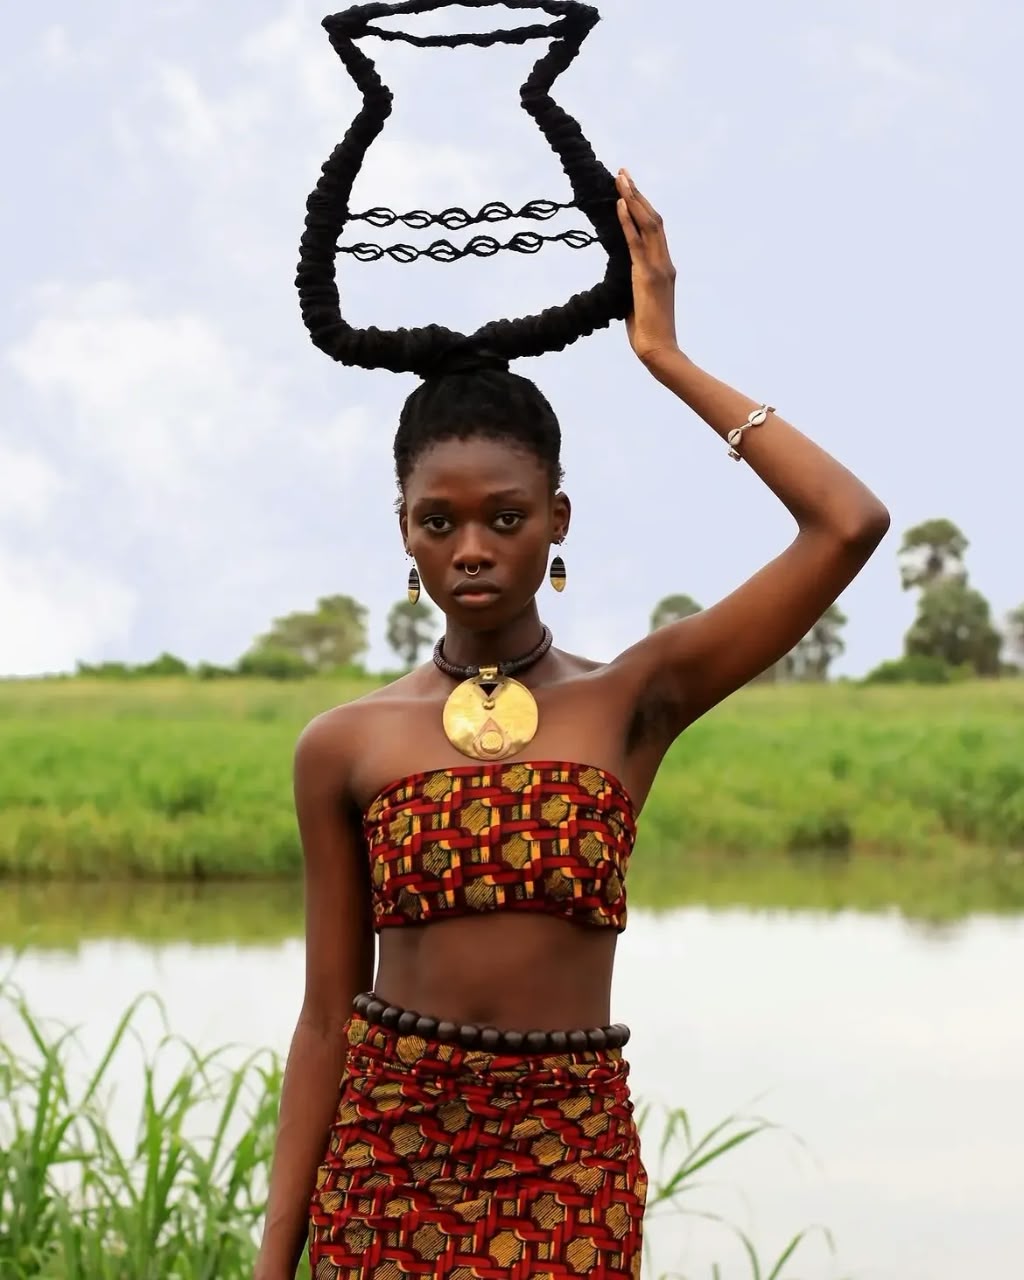
Photo: Instagram/@laetitiaky
Ky’s work gained attention through social media al media, where she began sharing photographs of her sculptural hairstyles. She has since turned her hair into objects, figures and other forms.
Ky uses her natural hair together with extensions, thread and wire to create her sculptures. Depending on the design, a piece takes 30 minutes to six hours. She then captures the finished work using a camera and tripod.
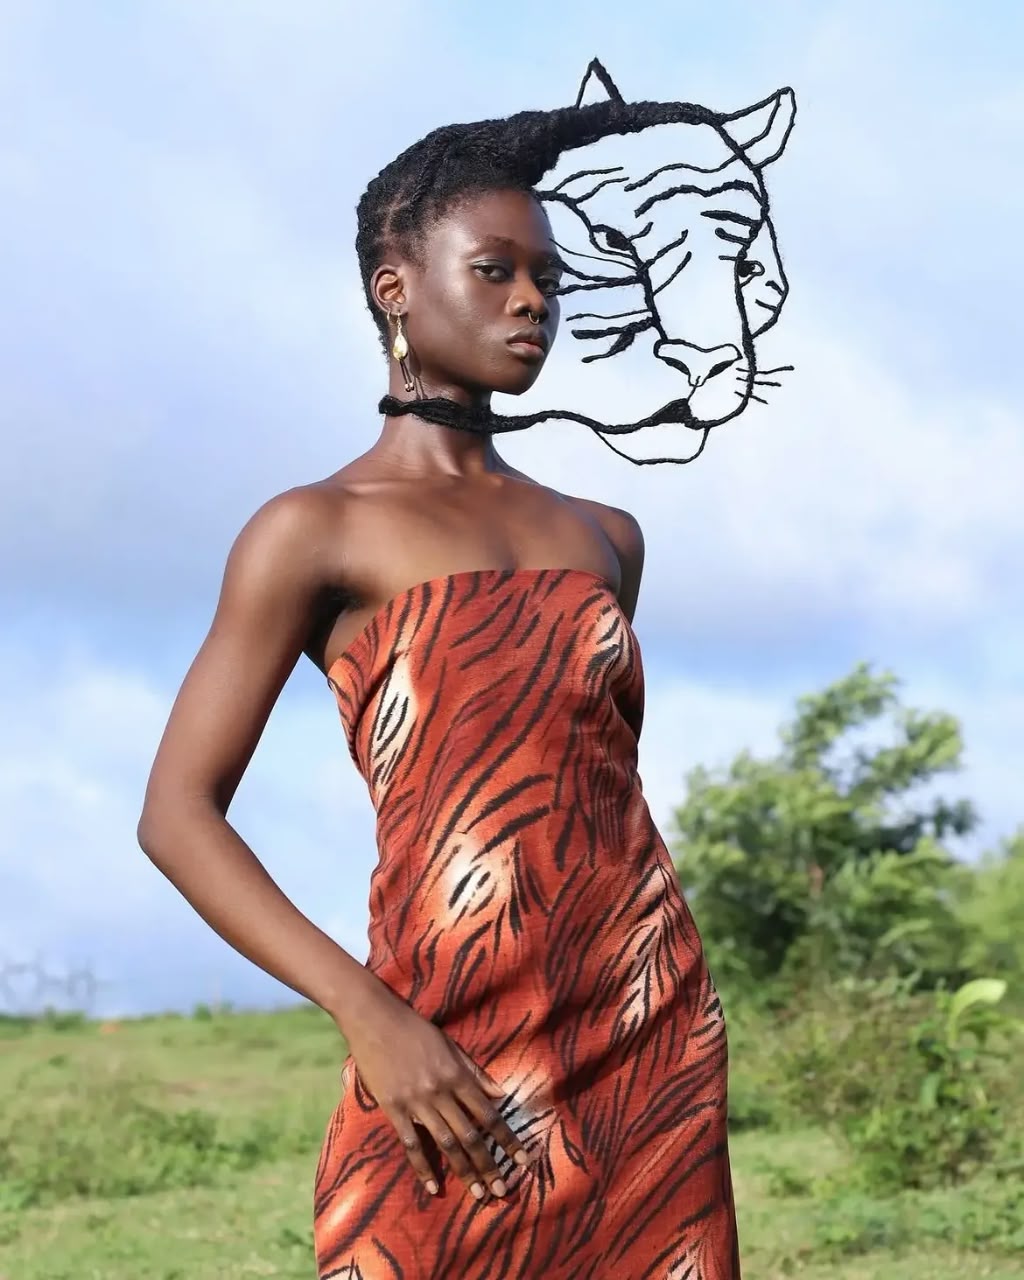
Photo: Instagram/@laetitiaky
Her inspiration is connected to African hair traditions. Ky has seen images of historical African hairstyles and was amazed by their complexity.
Read Also: Want Fuller, Thicker Hair? Peptides May Support Healthier Hair Growth
Moreover, her art talks about the complicated relationship many Black women have with their natural hair. Ky has described growing up in an environment where straight hair was a standard influenced by colonial ideas. She eventually turned that experience into an exploration of natural hair, identity and self-acceptance.
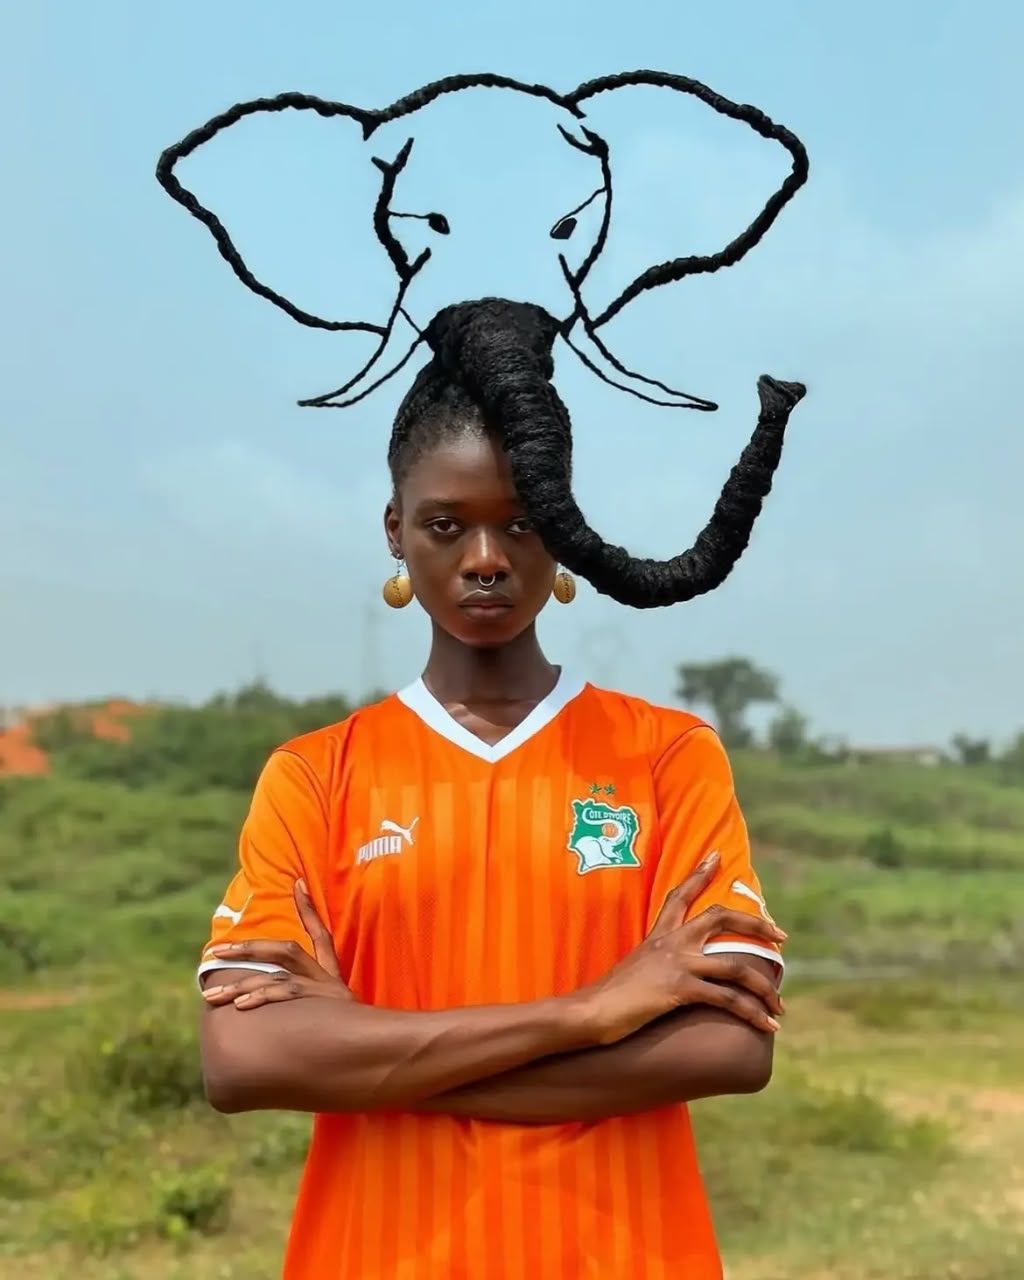
Photo: Instagram/@laetitiaky
Ky has used her hair to address subjects including sexism, violence against women, politics and problems affecting women and girls.
Ky has collaborated with Marc Jacobs, creating hair sculptures for promotional images featuring the brand’s products.
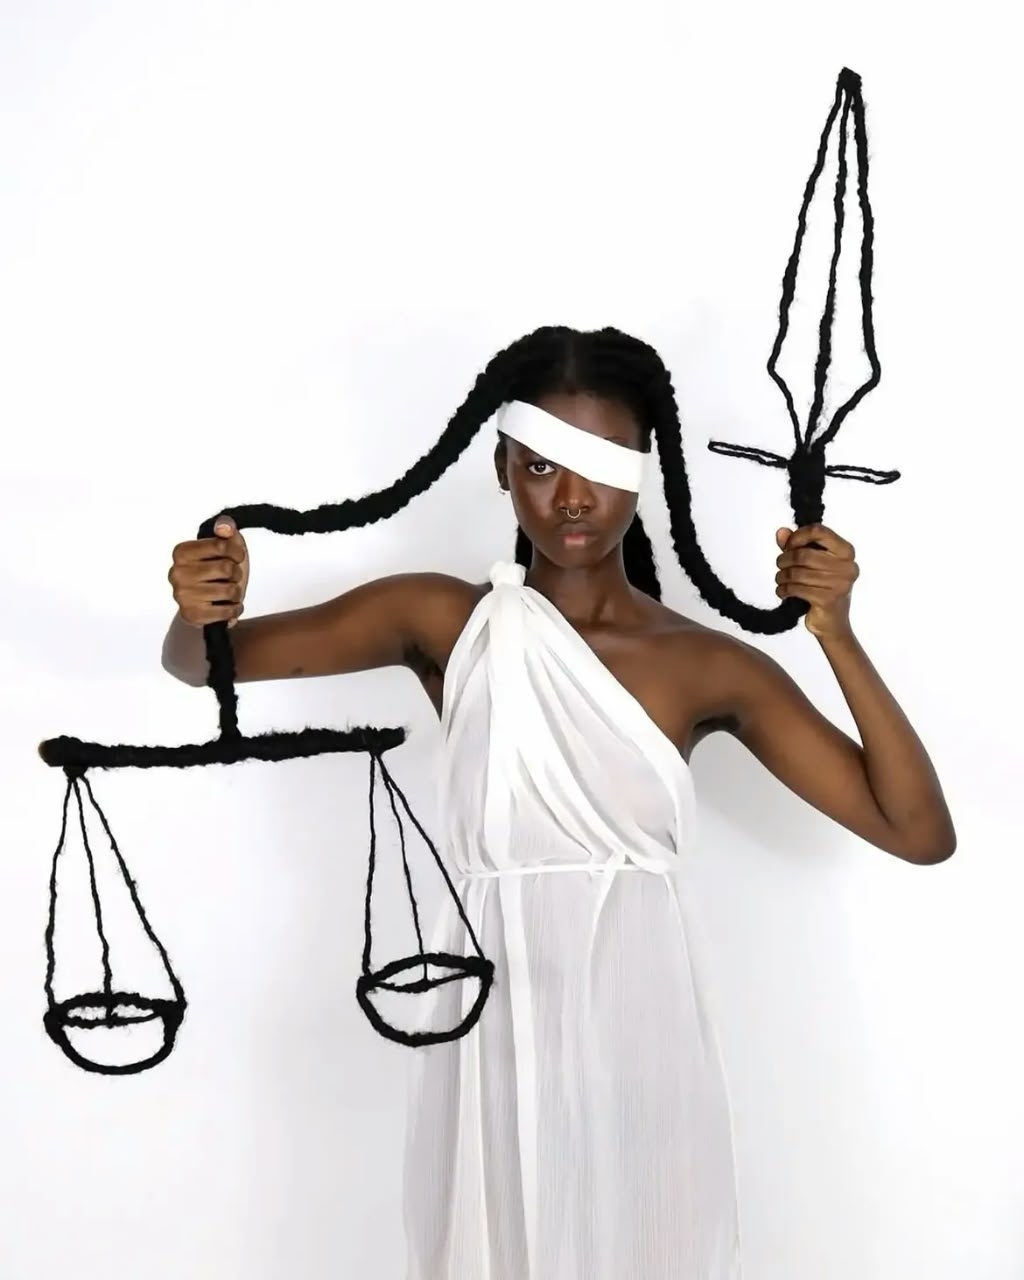
Photo: Instagram/@laetitiaky
Ky works can be found in her book Love & Justice, which shows photographs of her hair sculptures. In one project, she worked with her younger sister Florencia, creating sculptural hairstyles that represented their close relationship and trust.
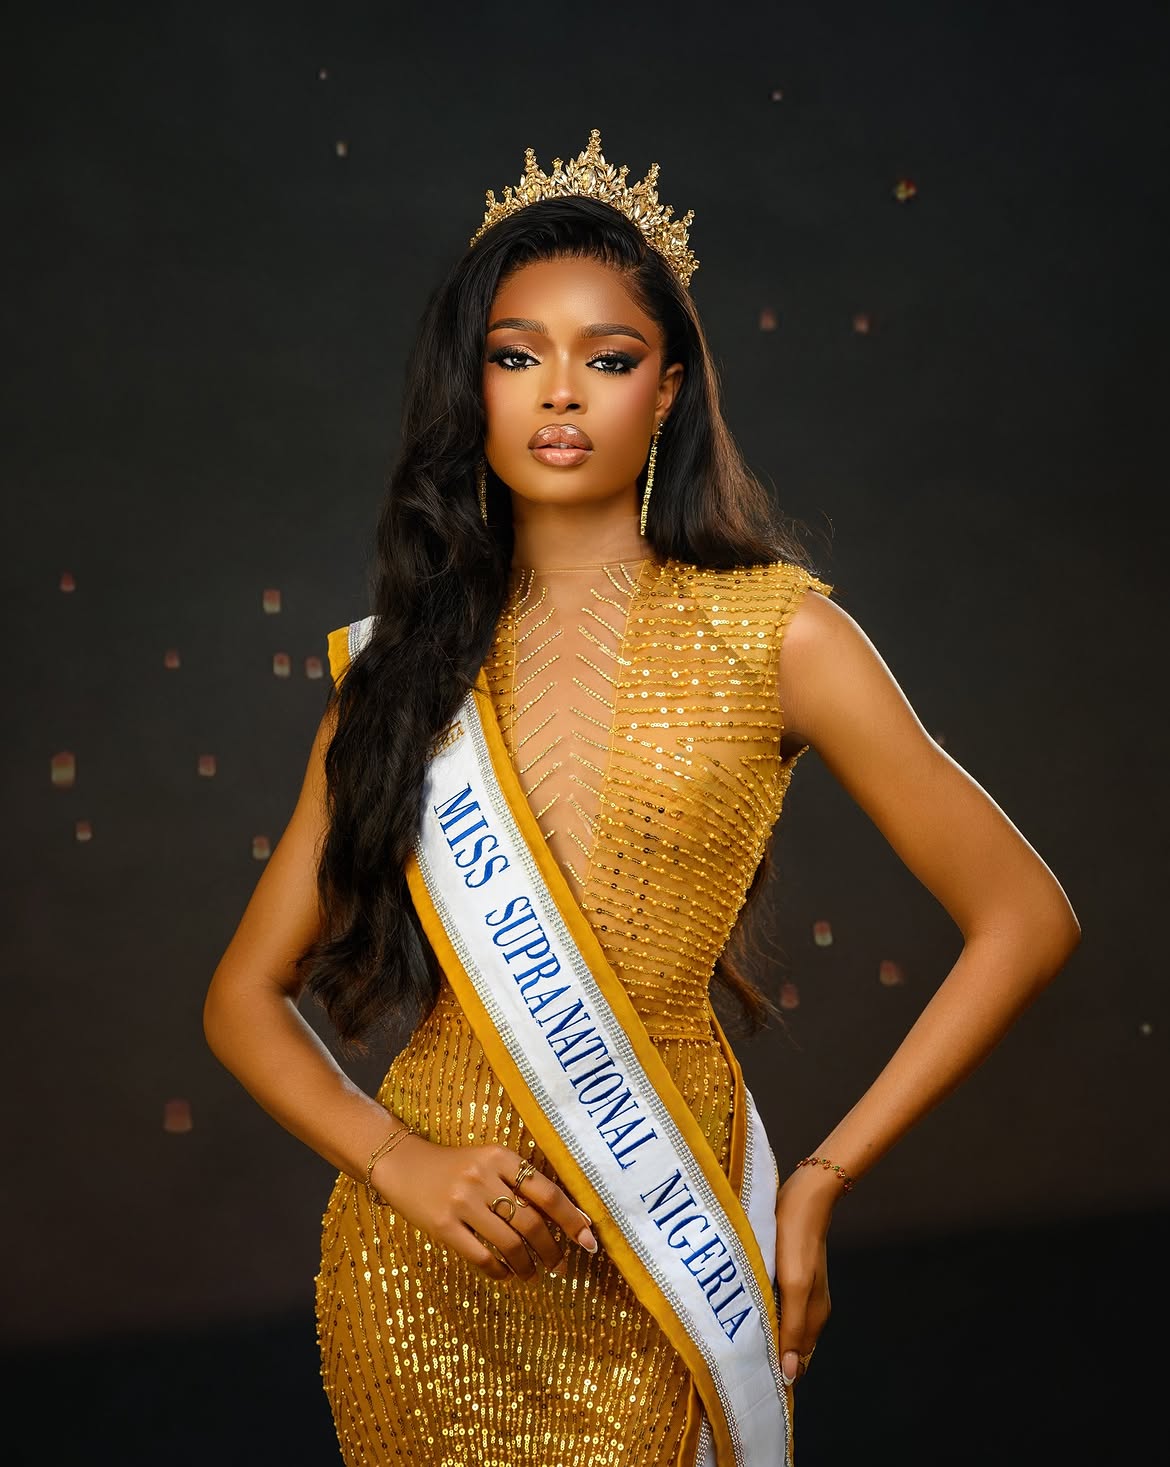
Nigeria’s Gift Eno Ndah finished as Third Runner-Up at the 2026 Miss Supranational pageant during the grand finale held on July 31 at the Strzelecki Park Amphitheater in Nowy Sacz, Poland. The result earned Nigeria a place in the competition’s Top 5 which featured contestants from more than 60 nations.
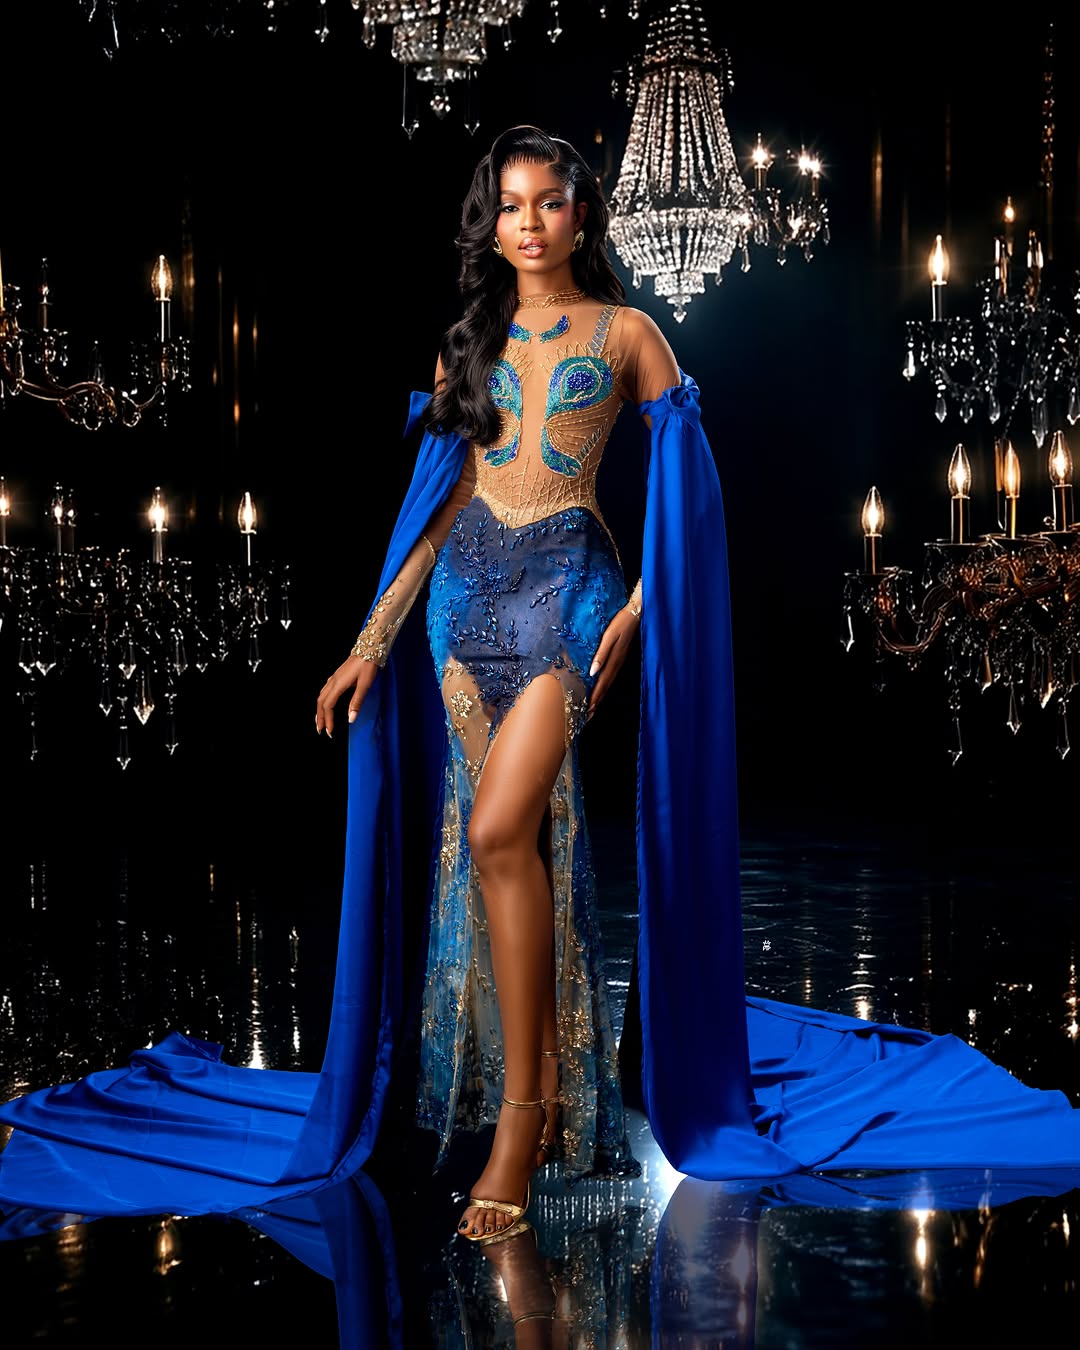
Photo: Instagram/@gift_ndah
The title went to Katrina Llegado of the Philippines, who succeeded Brazil’s Eduarda Braum as the new Miss Supranational. France’s Eve Gilles finished as First Runner-Up, while Brazil’s Lara Marina claimed the Second Runner-Up position. The Czech Republic’s Karolína Gorylová completed the Top 5 as Fourth Runner-Up.
Ndah arrived in Poland as Nigeria’s official representative after winning the national Miss Supranational title. In the weeks leading up to the finale, she took part in the pageant’s activities and earned a place in the Top 20 of the Influencer Challenge.
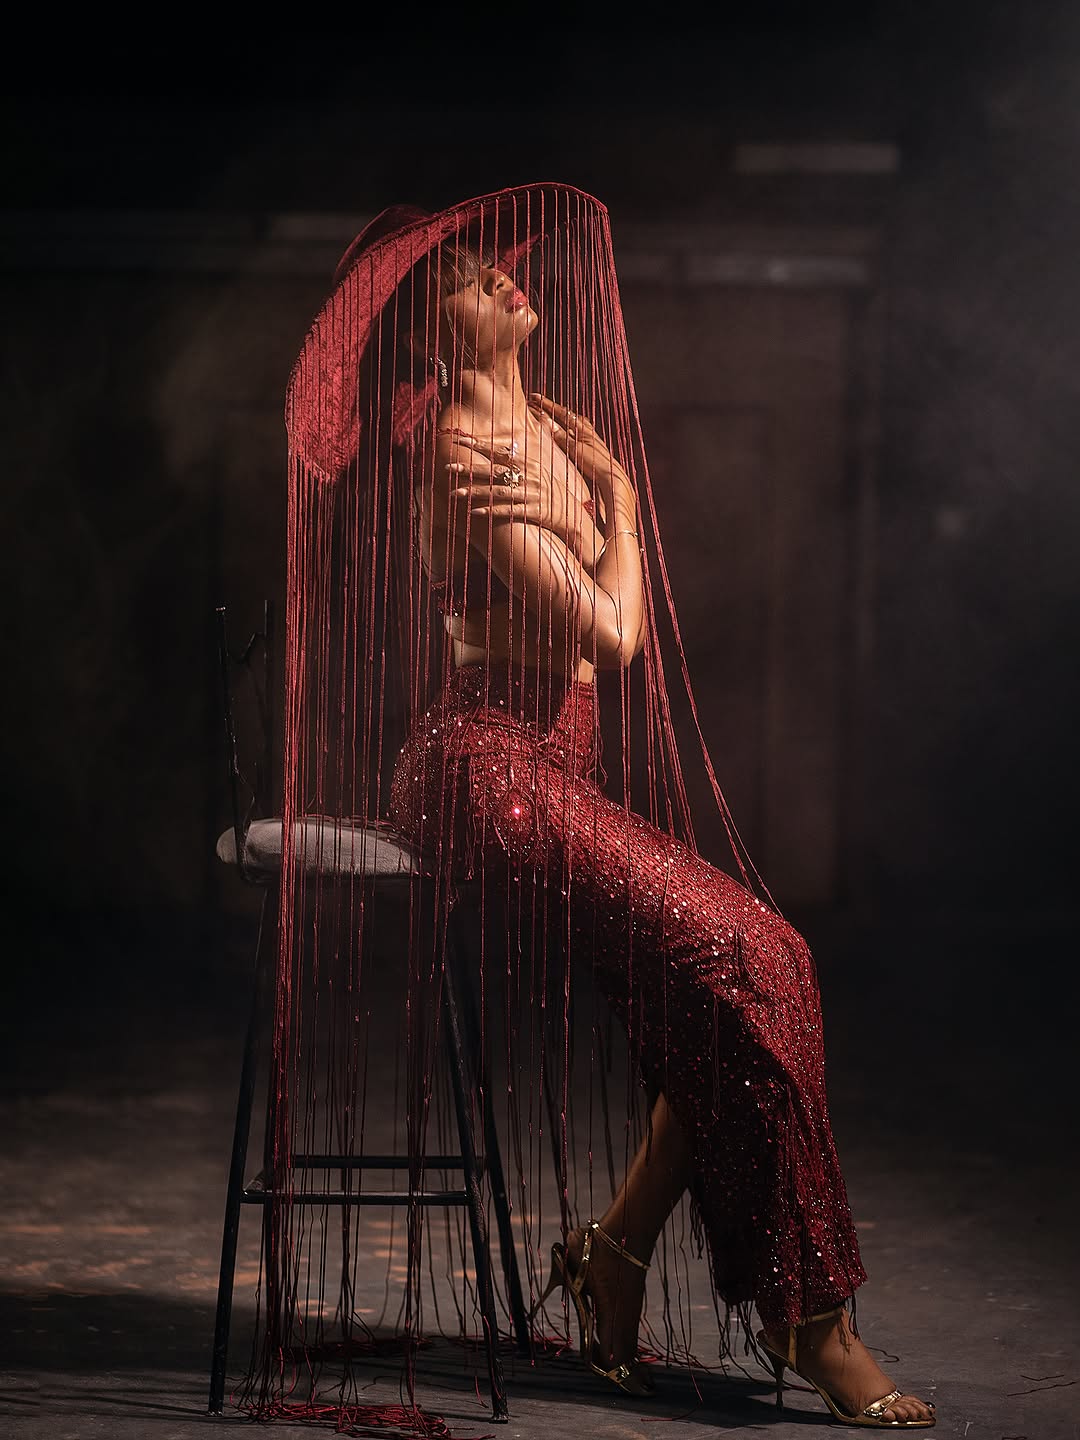
Photo: Instagram/@gift_ndah
Her finish has been welcomed by Nigerian pageant followers, who praised her consistency throughout the competition and celebrated another strong international outing for the country.
Before departing for Poland, she spoke about her determination to represent Nigeria with pride and to use the platform to promote her “Bloom Within” initiative, an advocacy focused on encouraging young women to develop confidence and pursue personal growth.
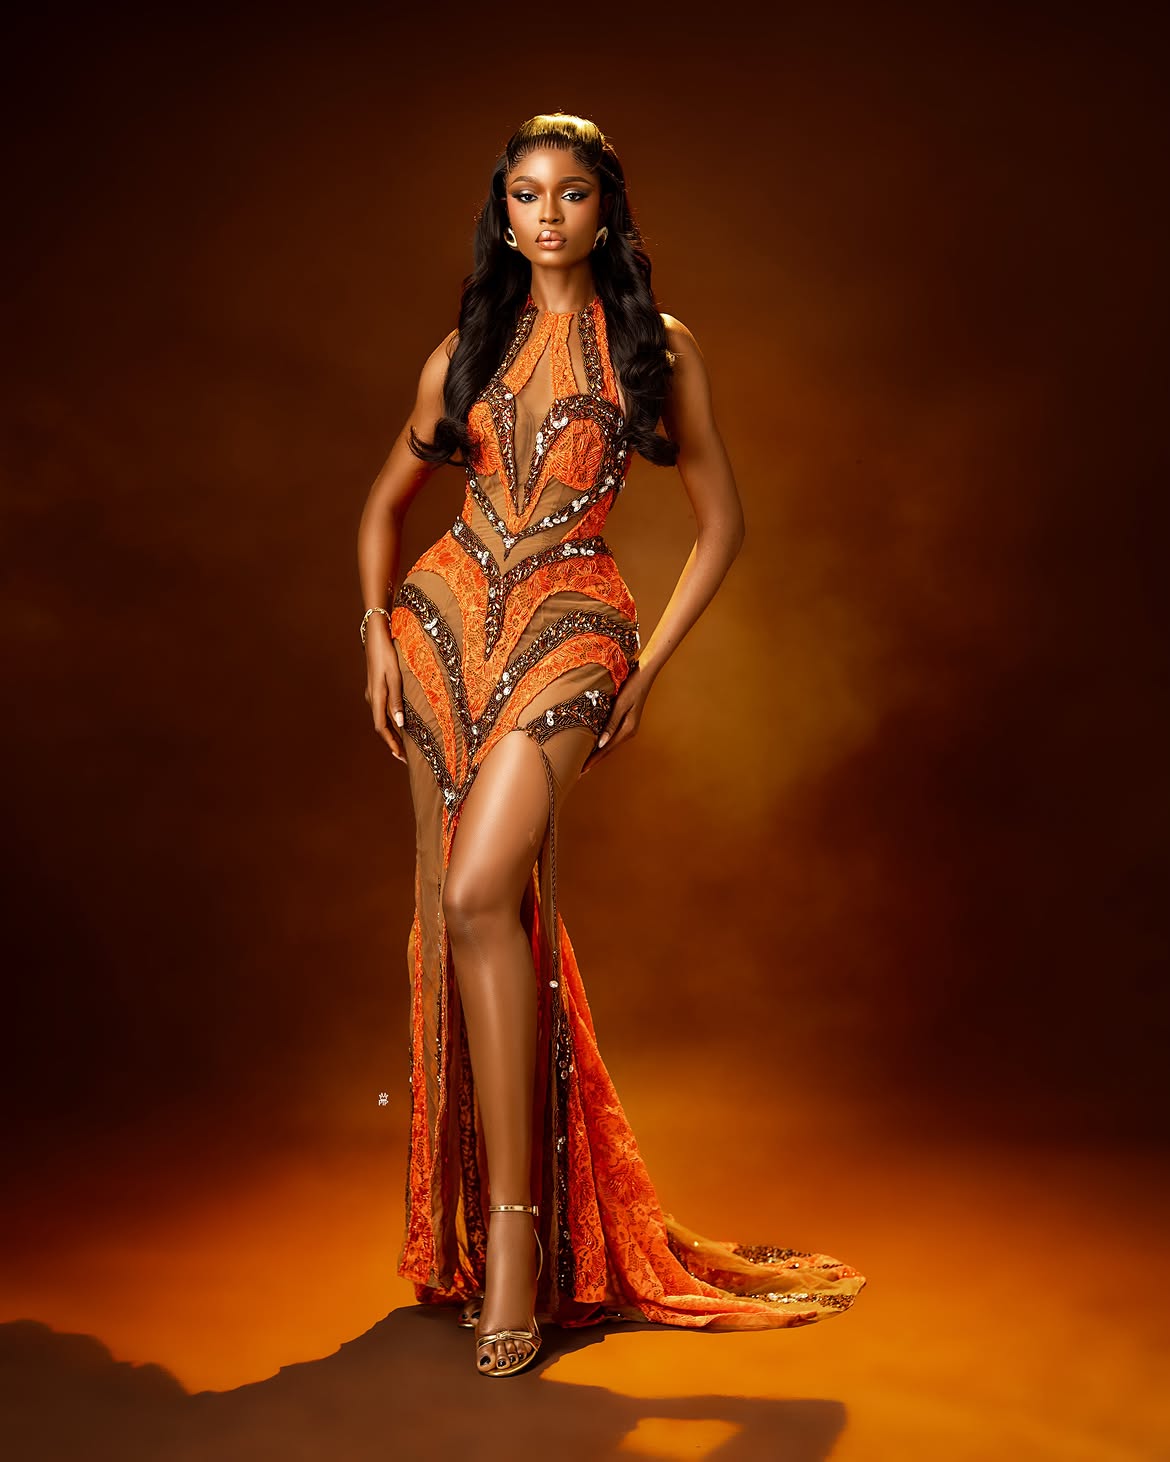
Photo: Instagram/@gift_ndah
Although she missed out on the title, Ndah leaves the competition with a Third Runner-Up finish. Her Third Runner-Up finish adds another notable result to Nigeria’s record at Miss Supranational and brings her international campaign to a close on a strong note.

Tems and Kim Kardashian Coordinate in Dark Shades for SKIMS Launch

Keivo Emerges as Week 9 Head of House, Barry Grants All Housemates Immunity

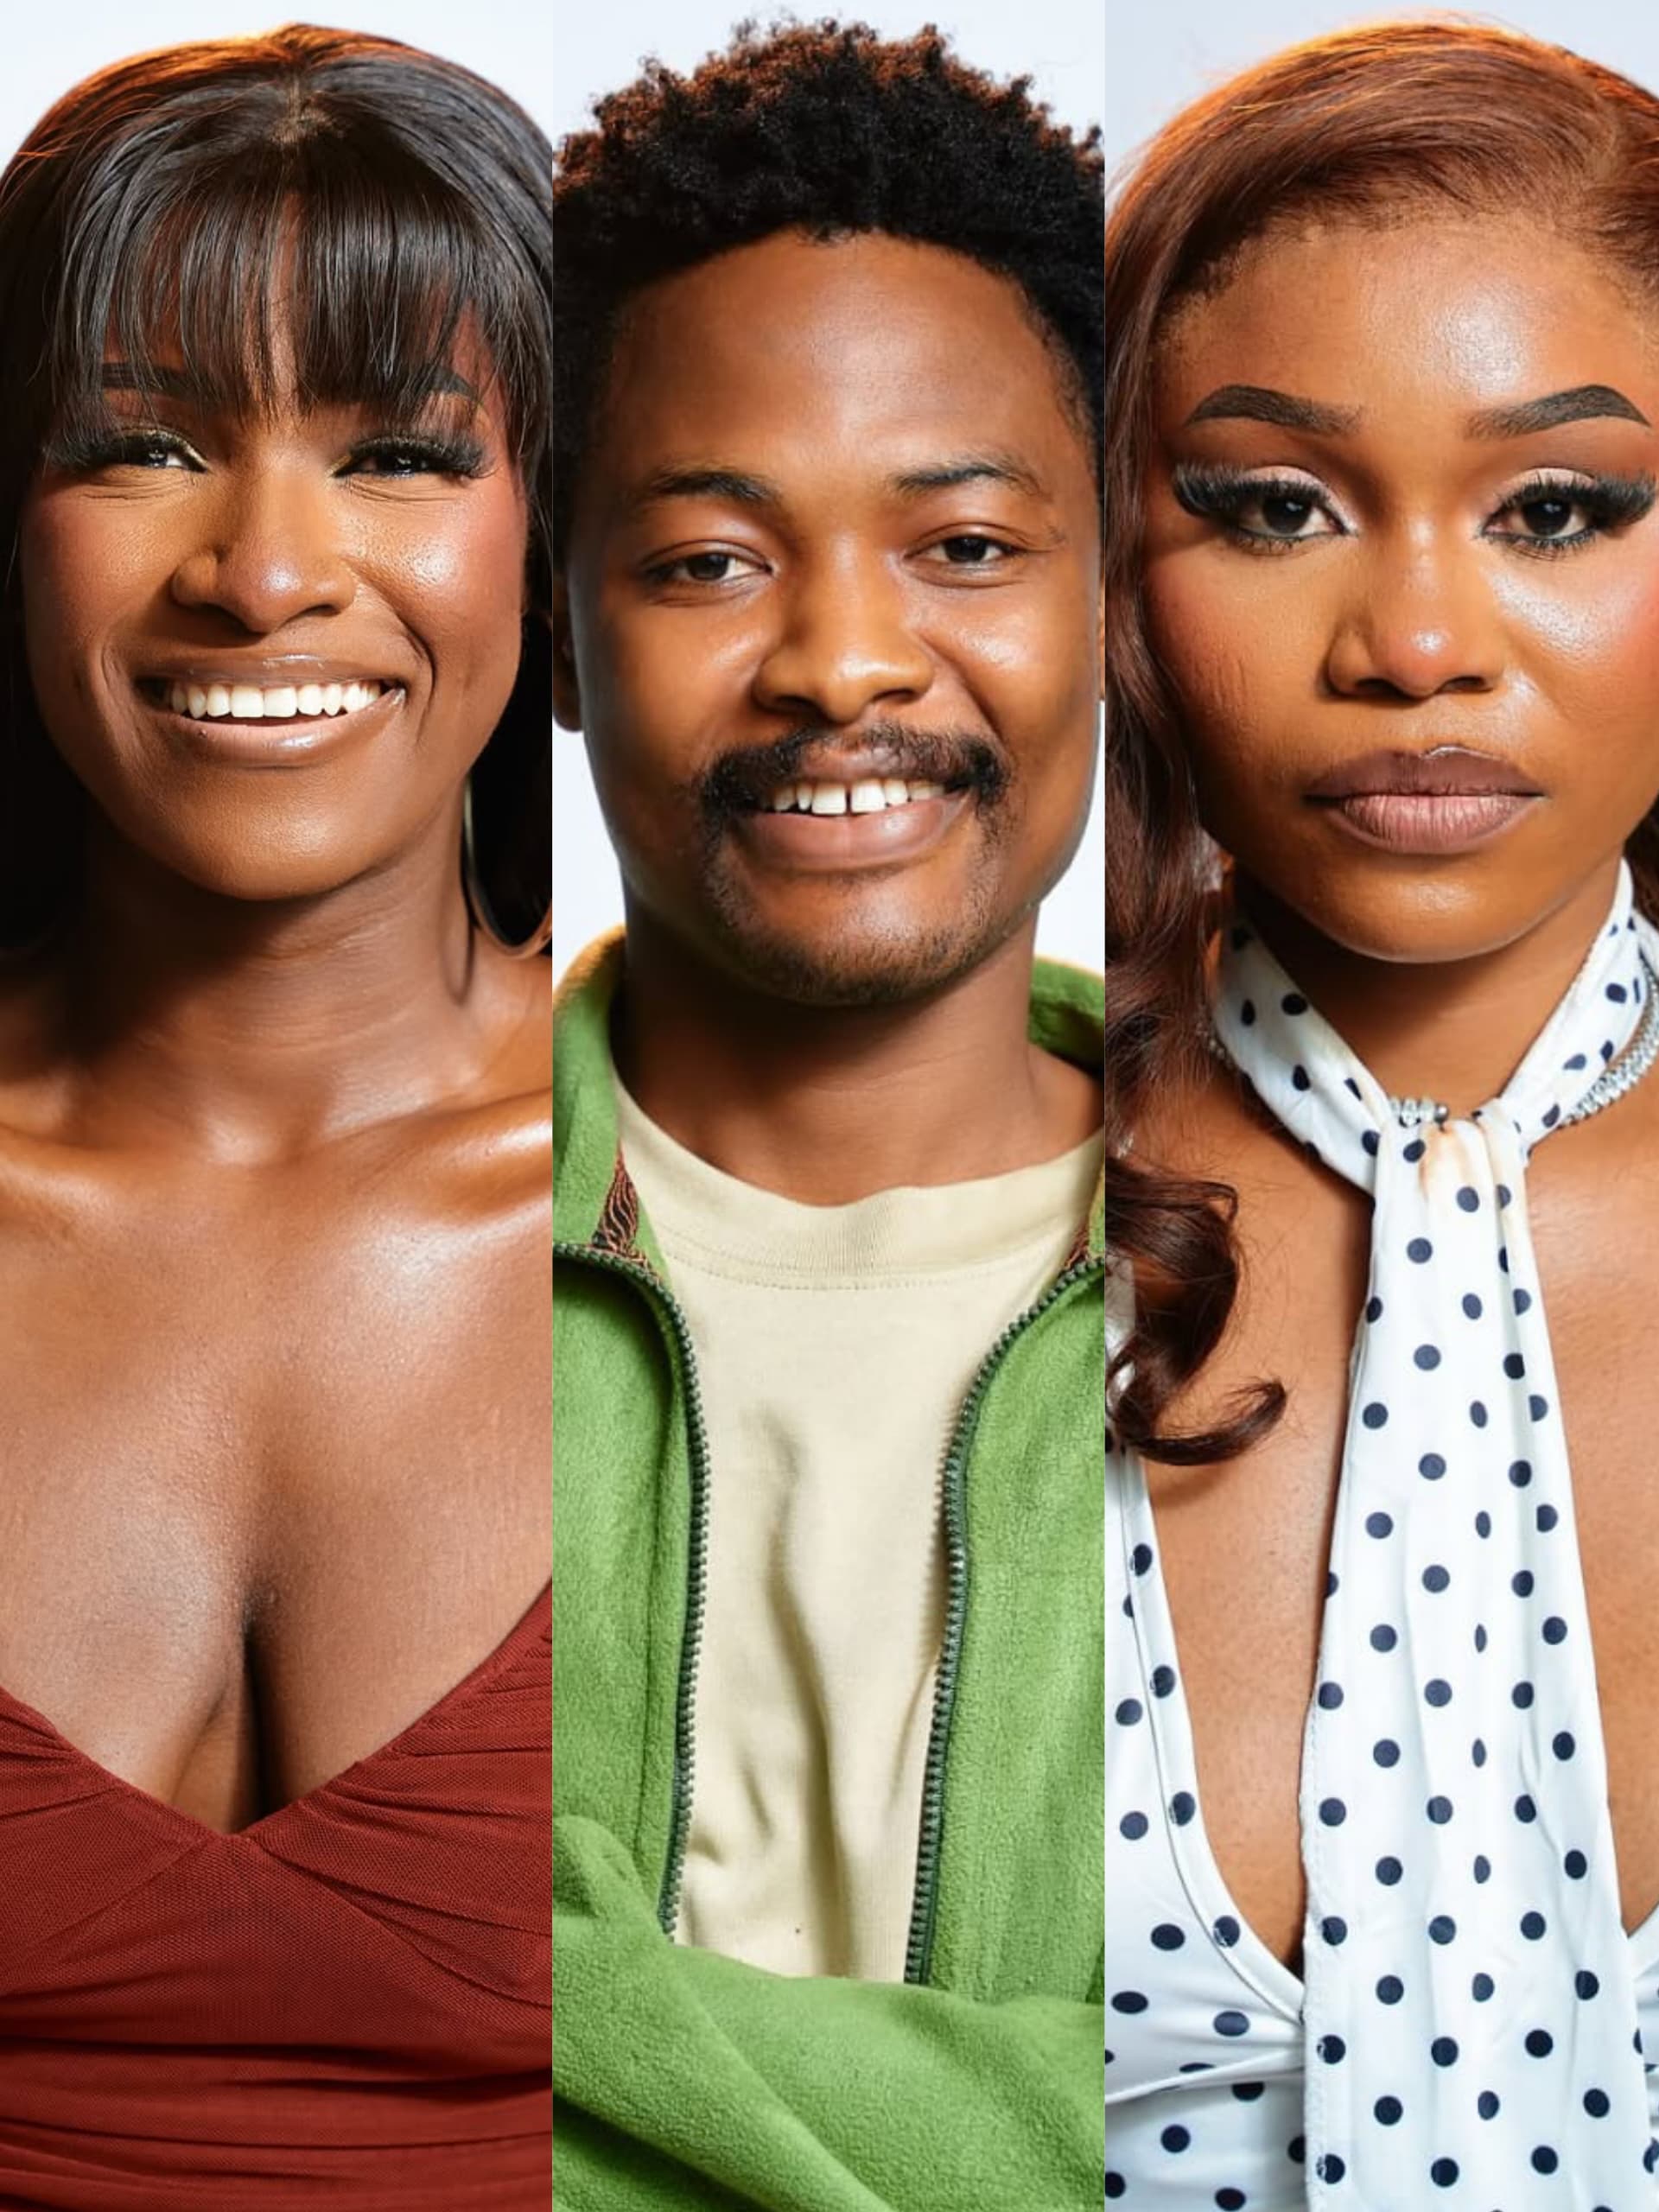
Yusuf, Bells, Chimsom Chuka Evicted From BBNaija Season 11

Tems’ Journey From Lagos to Global Stardom

Laura Ikeji Proves Polka Dots Are Back and Better Than Ever

Ayra Starr’s “Tornado” Video Enters an Unbelievable New World.

‘The Polygamist’: Nigerians Weigh In on Netflix’s New Series.

DJ Cuppy Explains Why She Cannot Marry a Nigerian and Reflects on Her Past Relationships.



-
 Celebrity Style2 months ago
How Dede Ashiogwu Styles a Classic White Dress
-
 Music2 months ago
Ayra Starr Announces Third Studio Album ‘Starr Girl’
-
 Music4 weeks ago
What Exactly Are Ayra Starr and ZAYN Singing About on “Heaven Baby”?
-
 Celebrity Style2 months ago
The Best Celebrity Looks of July 2026
-

 Big Brother Naija2 months ago
Big Brother Naija Season 11: Sheba Wins Week 2 Head of House Title as Eviction Tension Builds
-
 Models4 weeks ago
Meet the African Queens Competing for the Miss World 2026 Crown
-
 Music1 month ago
Ayra Starr’s ‘Starrgirl’: Tracklist, Features and Everything You Need to Know
-

 Fashion2 months ago
Yvonne Godswill’s LBD? A Black Dress Done Right — Here’s How to Wear One Now
-

 Lifestyle1 month ago
These Women Are in Their ‘Rich Girl Era’ and We’re Taking Notes
-
 Big Brother Naija4 weeks ago
Everything You Missed on Big Brother Naija Week 5